
Last updated August 26, 2026
Free on-site gate assessment - hinges, posts, and your LiftMaster or Nice gate operator checked before anything is quoted
The assessment is free and the quote is the invoice.
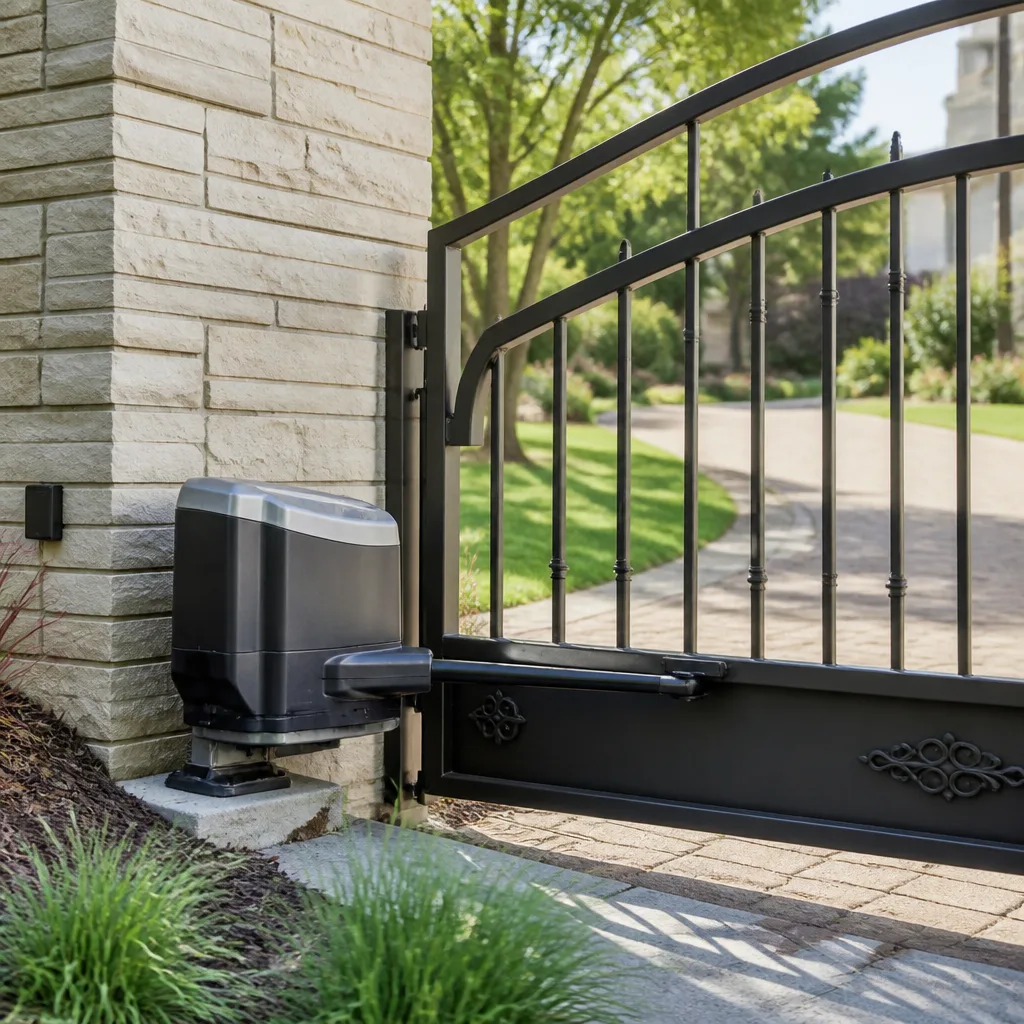
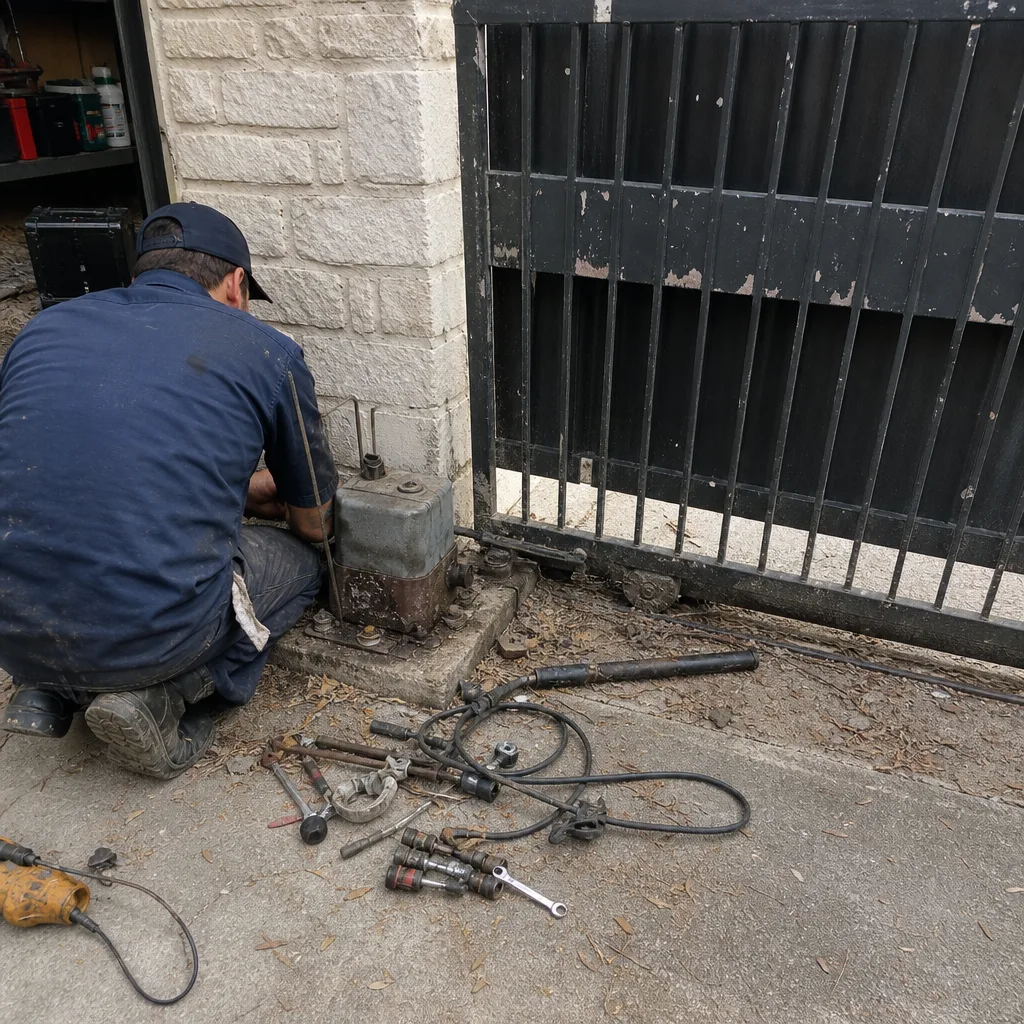 Before
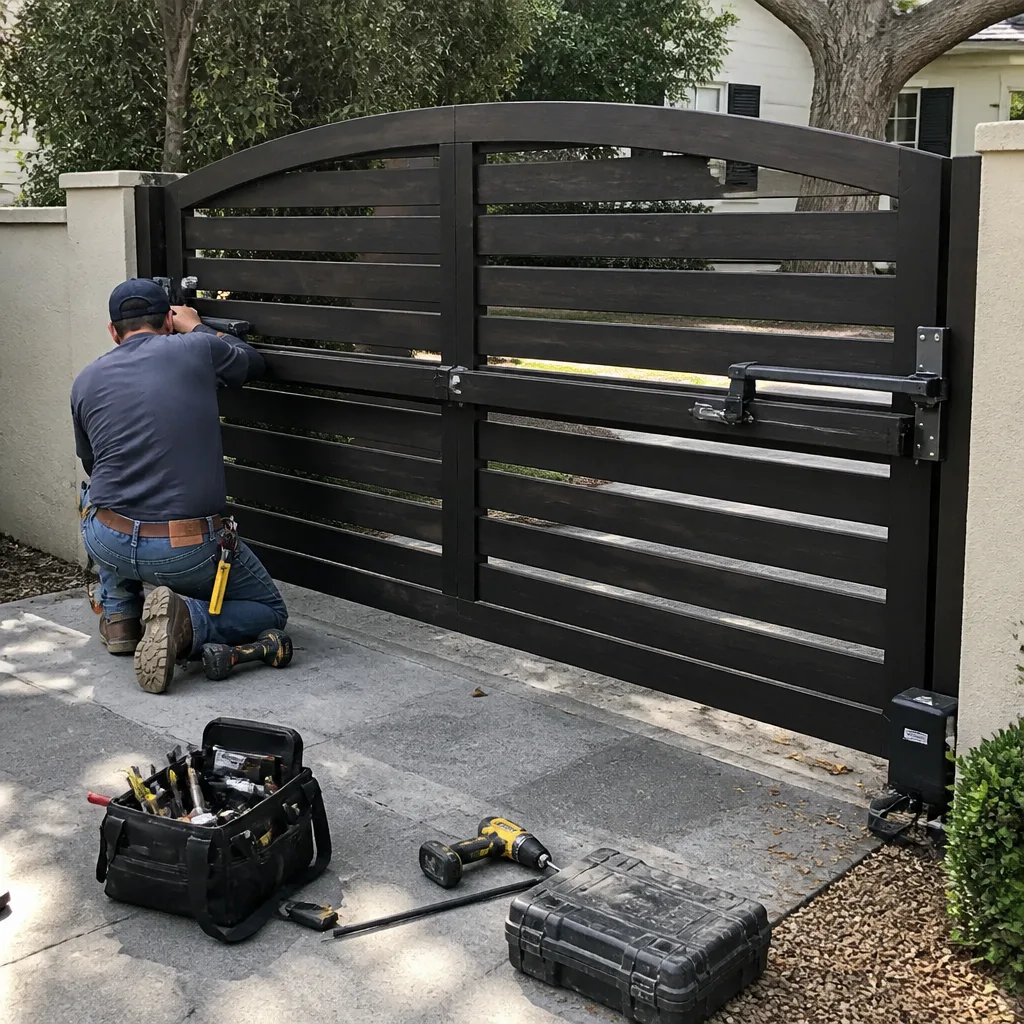 After
After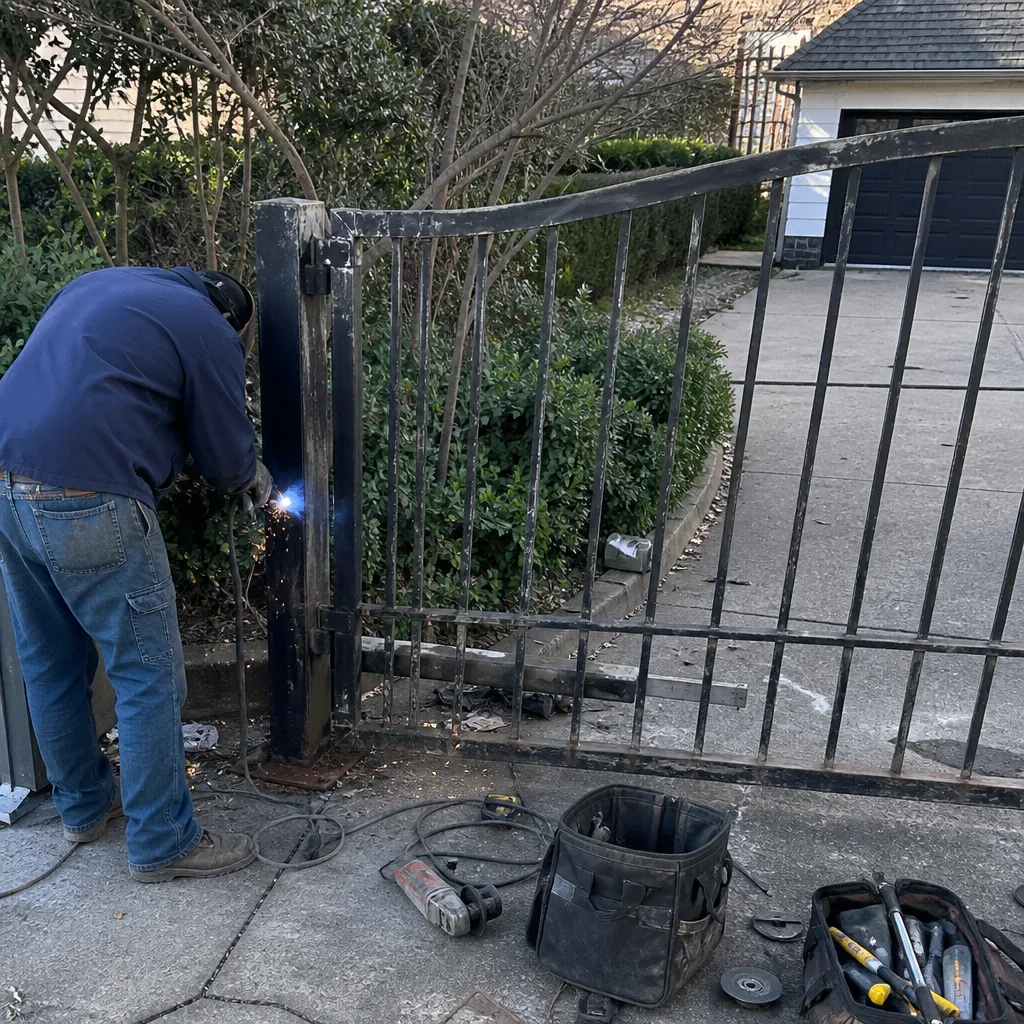 Before
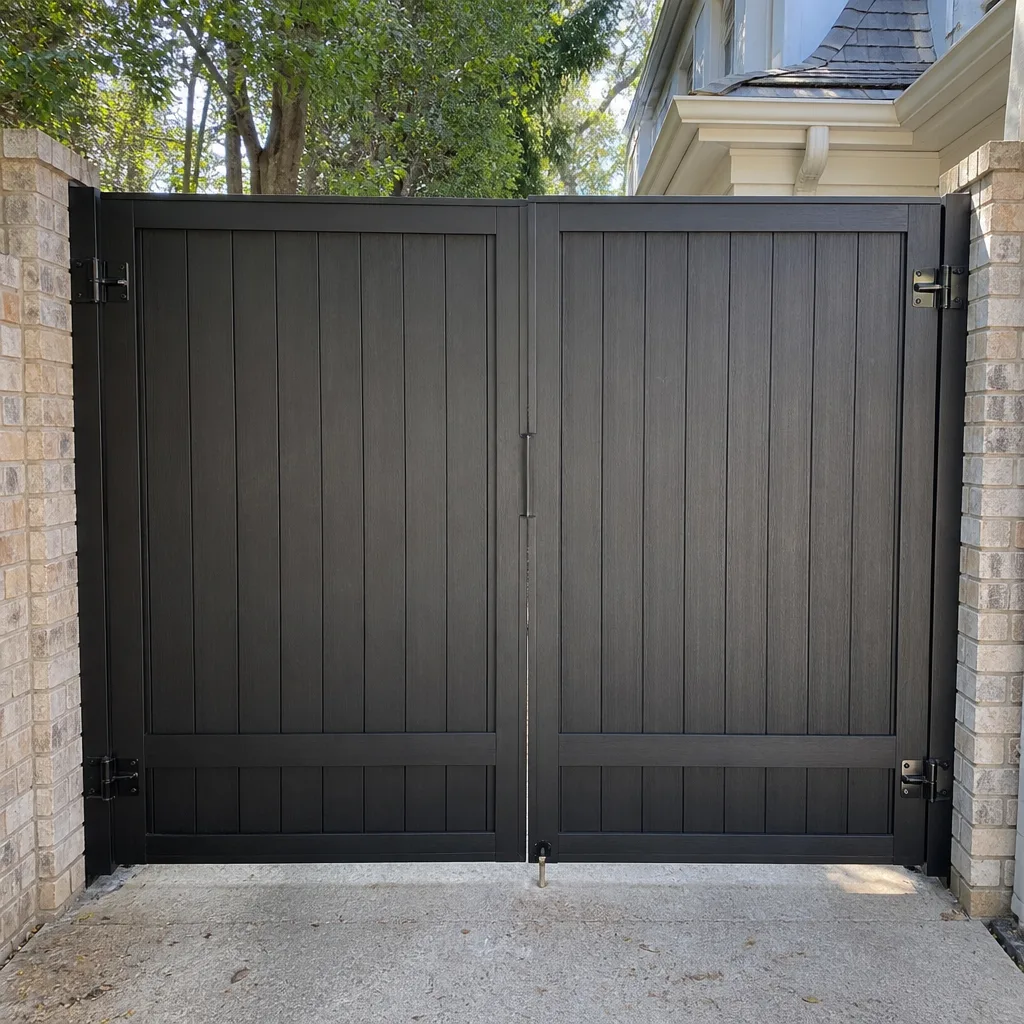 After
After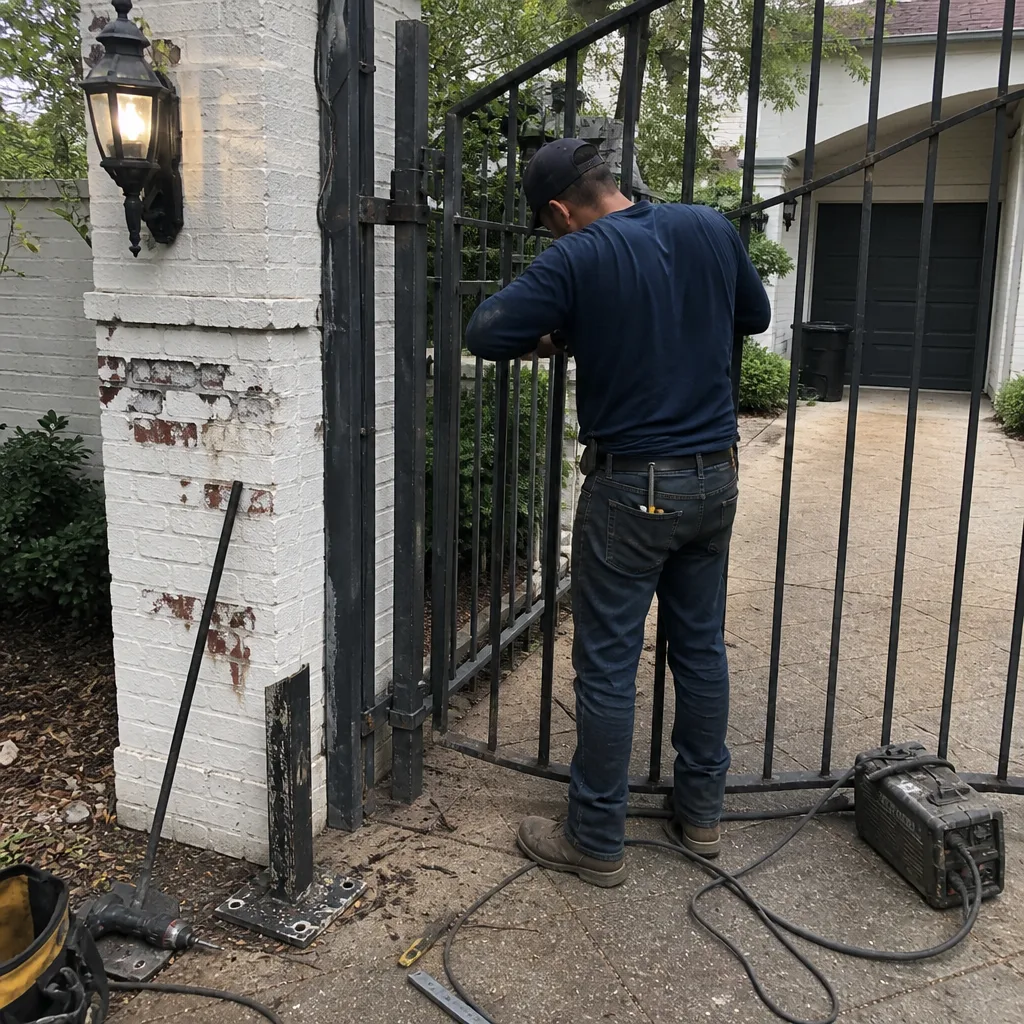 Before
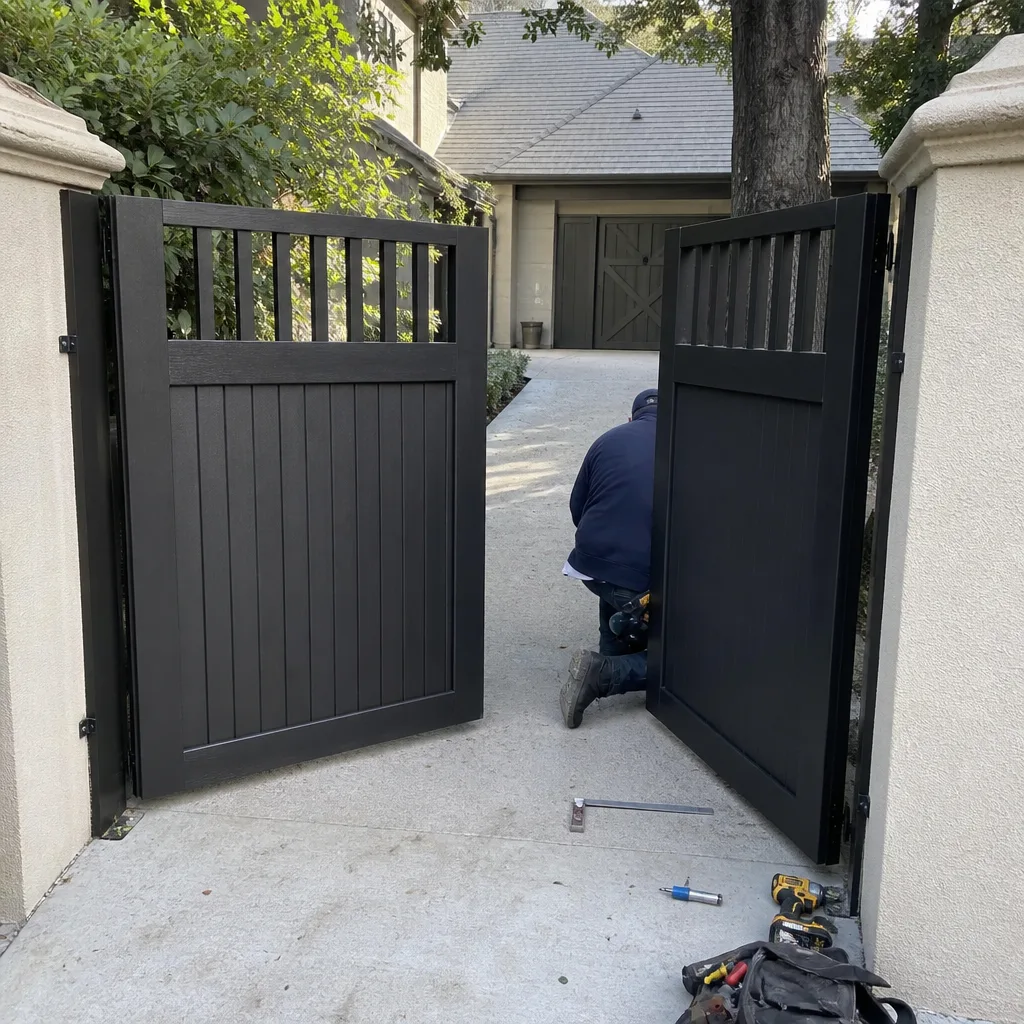 After
AfterGate Repair Warning Signs: A University Park Homeowner’s Reference Guide
A gate doesn’t fail without warning. Every broken weld, burned operator, and collapsed post left evidence weeks or months before it gave out - evidence that was sitting right there, readable, if anyone had pointed at it. Most contractors have no incentive to teach you what to look for, because an educated homeowner catches problems early, when the fix is a ten-dollar adjustment instead of a three-hundred-dollar rebuild. This guide is what Hal Gatewood looks for on every Gate Repair services call in University Park, written down so you can see it first.
Quick Answer
Gate repair warning signs fall into five categories you can check in ten minutes: sound changes (grinding, clicking, whining), visual post movement (shadow lines in concrete, paint separation at the base), progressive sag at the hinge side, operator behavior that mimics sensor trouble, and rust that has moved past surface staining into pitting. Any one of these means the gate is telling you something - and catching it early in University Park means a service call that costs less than the tow truck you’ll need if it collapses on the driveway.
Table of Contents
- The Sound Library: What Your Gate Is Saying
- Reading Post Movement Before It Becomes Structural
- Normal Sag vs. Progressive Hinge Failure: The $10/$300 Line
- Automated Gate Signs That Aren’t ‘Just a Sensor’
- The Rust Progression Scale for Wrought Iron Gates
- Weld Failure and Hardware Fatigue: What to Inspect by Hand
- A Seasonal Checkup Routine for University Park Gates
- Common Mistakes to Avoid
- When to Call a Professional
- Frequently Asked Questions
- The Bottom Line
The Sound Library: What Your Gate Is Saying
Gates make noise. They always have. A well-maintained gate makes a low, even hum or the soft chunk of a wheel rolling across track. What it never does is grind, click rhythmically, hesitate mid-travel, or whine on the close cycle. Those sounds are not personality quirks. They are component-level distress signals with specific mechanical meanings.
Here’s what Hal listens for on every call in University Park, and what each sound indicates.
Grinding on Open
A grind that happens only when the gate opens usually points to the drive rail or chain. On chain-drive operators, grinding means the chain has stretched beyond tension spec and the sprocket teeth are slipping against the links. On rack-and-pinion systems, it means the rack teeth are worn or the pinion gear is running dry. Either way, the metal is eating itself a little more each cycle. University Park’s summer heat accelerates this - lubricant breaks down faster, and stretched chain expands further.
Clicking, Rhythmic and Steady
A steady click-click-click at one specific point in the travel arc almost always means a bent tooth on the drive gear or a single damaged section of chain. The operator is forcing the mechanism past a bad spot every single cycle. That damage doesn’t self-heal. It widens. What starts as an annoying click becomes a stripped gear in weeks.
Hesitation on Open, Then Normal Travel
If the gate pauses for a half-second right after the motor engages and then moves normally, the operator’s start capacitor is failing. This is one of the earliest warning signs of circuit board failure on brands like BFT and Linear. Homeowners dismiss it as the gate ‘warming up.’ It isn’t. The capacitor is struggling to deliver the starting current the motor needs, and each struggle damages the board a little more.
Whining on Close
A high-pitched whine during the close cycle, especially if it gets louder the further the gate travels, typically means the gate’s weight is no longer balanced on its hinges. The operator is working harder on close because gravity should be helping it in that direction - and instead, it’s fighting a gate that has shifted. On Viking and Ghost Controls operators, sustained whining on close is a strong predictor of motor burnout because those motors are not designed for continuous load against imbalance.
What Silence Means (Sometimes)
A gate that was noisy and suddenly goes quiet isn’t fixed. It usually means the chain broke entirely, or the drive arm disconnected, and the operator is spinning without load. If your gate sounds ‘better’ overnight with no service call in between, that’s not better. That’s a part that has stopped trying.
If you hear any of these sounds consistently, it’s cheaper to call now than to wait for the operator to tear itself apart. A chain adjustment inside University Park runs far less than a gate motor replacement. The gate motor and opener service covers all of this.
Reading Post Movement Before It Becomes Structural
The post is the whole game. A gate sags in the hinge post, not in the middle - and that is where we start. When a University Park gate fails, it’s almost always because the post moved, and the moving post pulled everything else out of alignment. The good news: posts leave visible evidence of movement long before they become a structural emergency.
Shadow Lines in Concrete
Look at where the post enters the concrete footing. A post that is still rock solid has one clean, continuous line of concrete right up against the steel. A post that has started moving will show a shadow line - a hairline gap where the concrete no longer presses tightly against the post. This gap opens and closes as the gate cycles. When you see a shadow line that wasn’t there a year ago, measure it. If it’s wider than a dime’s thickness, the post is working loose.
Paint Separation at the Base
Paint doesn’t crack at the base of a post unless the steel underneath is flexing. Surface rust causes paint to bubble and flake. But a clean horizontal crack where the paint splits right at the concrete line means the post is flexing with every open and close cycle. That flex is microscopic metal fatigue accumulating. It will eventually become a crack in the steel itself.
Gap Asymmetry
Stand at the latch side and look at the vertical gap between the gate and the latch post. It should be roughly even top to bottom. If the top gap is wider than the bottom gap by more than a quarter inch, the hinge post is leaning away from the gate. If the bottom gap is wider, the gate is sagging in the hinge. Both are measurable with nothing but your eyes. A gate whose gap changes depending on whether it’s open or closed means the post shifts under load - that is the definition of progressive failure.
The University Park Climate Factor
North Texas clay soil expands and contracts with moisture. A dry summer shrinks the soil around footings, and a wet spring swells it. This seasonal cycle works posts loose over years, even when the original concrete pour was deep enough. If your post shows movement after a dry spell, don’t assume it’s settled. It’s likely cycling - and each cycle loosens the footing further. Fix the panel without the post and you’ll fix it twice.
Normal Sag vs. Progressive Hinge Failure: The $10/$300 Line
Every gate sags a little over time. That’s physics, and it’s not a problem. The problem is knowing the difference between sag that a hinge adjustment fixes and sag that means the hinge itself is failing. One is a ten-dollar adjustment. The other is a three-hundred-dollar repair if you wait.
Here’s how Hal tells them apart on a service call - and how you can too.
Test 1: The Lift Test
Grab the latch end of the gate and lift. If you can raise it a quarter inch or more, the hinge pins and brackets are wearing, not just out of adjustment. That play is where the sag lives. A gate that lifts and clunks is a gate whose hinges have opened up. Tightening the hinge bolts might help for a few weeks, but if the pin itself is worn, it will sag again.
Test 2: The Wear-Point Look
Examine the top hinge closely. A healthy hinge shows even wear across the pin. A failing hinge shows a polished, flat spot on one side of the pin or an ovaled-out hole in the bracket. That flat spot is the pin wearing against the bracket under the gate’s weight. Once the pin is no longer round, no adjustment will hold.
Test 3: The Close Sound
Close the gate slowly by hand. A gate with healthy hinges settles into the latch with a quiet chunk. A gate with failing hinges drops the last half inch with a metallic snap. That snap is the gate falling into its worn spots. It’s metal hitting metal where it should be gliding.
- If the gate lifts less than a quarter inch and closes quietly: adjust the hinge tension. This is a homeowner-level fix if you’re comfortable with a wrench.
- If the gate lifts a quarter inch or more: the hinge pins are worn. Replace them now. Waiting means the gate drops further, the latch misaligns, and the stress transfers to the post.
- If the gate lifts and the post moves with it: stop using the gate and call a professional. The hinge isn’t the problem anymore. The post is.
In University Park, we see sag begin around year eight to twelve on a properly installed gate, depending on how many children have swung on it and how many times the wind has caught it during a spring storm - one reason we wrote How to Hire a Gate Repair Contractor in University Park: A Step-by-Step Guide. It’s normal. What’s not normal is living with it for another two years while the hinge pin grinds itself into an oval and the bracket stretches. That’s when a $10 pin turns into a $300 hinge rebuild.
Automated Gate Signs That Aren’t ‘Just a Sensor’
Automated gates have a way of hiding their real problems behind the word ‘sensor.’ The operator beeps. The gate reverses. The remote needs to be pressed twice. Homeowners shrug and say it’s probably a sensor issue. But half the time on a University Park service call, the sensor is fine and the operator is in its death throes.
Here are the automated warning signs that actually point at operator failure - and why ignoring them costs more than the service call.
The Gate Reverses Mid-Cycle With No Obstruction
Yes, this can be the safety edge or the photo eyes. But if the gate reverses at the exact same spot in the travel every time, regardless of temperature, time of day, or where the sun is hitting the photo eye, the obstruction detection circuit is reading resistance from the motor, not from an actual obstruction. The motor is laboring at that point in the cycle - a bent rail, a failing bearing, a gear losing teeth. The circuit interprets the extra current draw as an obstruction and reverses. The operator is telling you it’s working too hard, probably on a Linear or BFT unit that’s been in service for eight or more years.
The Remote Needs Two Presses
The first press wakes the board. The second press actually moves the gate. This is a capacitor or relay issue on the control board, not a remote battery problem. If fresh batteries don’t fix it, the board’s start circuit is failing. That failure progresses until the gate won’t open from the remote at all, and you’ll be reaching for the manual release in the dark.
The Gate Slows Down for No Reason
Operators on Ghost Controls and Viking units run at a designed speed. If your gate is moving slower than it did six months ago, the motor is losing torque. Something in the drivetrain is adding resistance, or the motor’s windings are degrading. Slower travel means longer run times, which means more heat, which means faster burnout. It’s a spiral.
The Status Light Flickers or Dims When the Gate Moves
Your gate operator’s status light should stay steady. If it dims or flickers while the motor runs, the power supply is under strain. That could be a failing transformer, a failing capacitor, or a loose connection in the control box. None of those are sensor issues, and none of them fix themselves.
What ‘Just a Sensor’ Actually Costs You
Every extra cycle the operator runs with a failing component pushes it closer to complete failure. A $60 limit switch replacement becomes a $700 operator swap. Good gate repair in University Park is about catching the cheap fix before the expensive one becomes the only option.
The Rust Progression Scale for Wrought Iron Gates
Rust is not an emergency. Rust is also not cosmetic. The truth lives between those two extremes, and knowing where your University Park gate sits on the progression tells you whether you need a wire brush or a welder.
Stage One: Surface Rust
Surface rust is an orange dusting or light flaking on top of paint. You can scratch through it with a fingernail and find solid, dark steel underneath. It forms where paint has chipped, usually at corners, edges, and weld joints. Surface rust in University Park is a spring and fall problem - the humidity climbs, and any bare steel starts oxidizing. Fix it by sanding the spot, applying a rust converter, and repainting. Do this before summer heat bakes the rust deeper.
Stage Two: Pitting
Pitting is when the rust has eaten into the steel itself, leaving small craters. You can feel pitting with your fingertip - it’s rough, not just discolored, and the craters don’t disappear when you sand the top layer. Pitting means the protective coating has failed and the steel is actively corroding. On gate frames, pitting around the bottom rail and hinge brackets is especially serious because those areas bear the gate’s weight. You can slow pitting, but you can’t reverse it. The steel that’s gone is gone.
Stage Three: Flaking and Layering
When rust forms in layers that peel away like dry leaves, the corrosion has reached deep into the steel. This is common on older wrought iron gates in University Park that have gone years without sealing. The flakes are steel that used to be part of your gate. At this stage, the structural integrity of the affected member is compromised. A bottom rail with layered flaking will eventually fail.
Stage Four: Structural Compromise
Structural compromise is when you can see daylight through a rusted section, or when a hinge bracket flexes when you push on it. The steel is no longer continuous. This is not repairable by sanding and painting. This requires cutting out the compromised section and welding in new steel. On wrought iron gates, that’s a job for someone who welds on site - and in University Park, that means Hal. The gate doesn’t need to leave your driveway.
- Surface rust: clean, treat, repaint. A weekend job.
- Pitting: clean, fill if shallow, repaint - and start budgeting for a more involved repair within a few years.
- Flaking: call for an assessment. Some sections may be weld-repairable; some may need replacement.
- Structural compromise: stop using the gate and call a professional immediately.
In our experience at Gatewood Fence & Gate, most University Park gates with serious rust problems reached that point because Stage One was ignored for three or four seasons. Rust never takes a year off. It compounds.
Weld Failure and Hardware Fatigue: What to Inspect by Hand
Welds and hardware are the quiet workhorses. They don’t make noise like operators, and they don’t move like posts. They just crack, stretch, loosen, and eventually let go. But they show damage the same way if you know where to look and what to feel.
Weld Inspection
Run your fingers along every weld you can reach - at the corners of the frame, where the pickets meet the rails, where the hinge brackets attach, where the latch plate mounts. A healthy weld is smooth and continuous. A failing weld shows hairline cracks running perpendicular to the weld bead, or little rust lines where the weld meets the parent steel. That rust line is the weld beginning to separate. In University Park’s freeze-thaw cycles, water gets into those micro-cracks, freezes, expands, and works the crack wider. What was a hairline in January can be a full break by March.
Hardware Fatigue
Every bolt, screw, and latch component is under repeated stress. Look for:
- Stretched bolts: a bolt that’s necked down in the middle has been overloaded. The threads may still hold, but the bolt is one good wind gust from snapping.
- Backed-out screws: screws that have worked themselves loose once will do it again. Tightening them helps, but if they back out within a month, the holes are stripped and need a threaded insert or an oversize screw.
- Worn latch rollers: if your gate latch has a roller wheel, it should spin freely. A flat spot means the gate has been slamming against it. A seized roller means the gate has been dragging across it, wearing a groove into the latch post.
- Galled hinge threads: if the hinge bolt turns but doesn’t tighten, the threads are stripped. That’s not a sloppy install job by us - that’s metal fatigue from years of cycling.
The Hand Test for Gate Tracks
If you have a sliding gate, run your hand (carefully) along the track rail. Look for:
- Notches or dents where the gate wheels have been riding
- Wear on one side of the rail meaning the gate is skewing
- Debris packed into the track - University Park oak leaves and gravel do more damage to gate wheels than most people think
Everything on a gate wears in proportion to how well it was installed. A gate that was installed square with proper clearances will go years between adjustments. A gate that was installed a degree off will eat hardware on a schedule. Show me the gate closing on its own and I’ll show you where it’s failing. We cover the full range of this in our gate installation work in University Park, because a gate installed wrong will never be fixed by repairs.
A Seasonal Checkup Routine for University Park Gates
University Park weather does specific things to gates. Summer brings triple-digit heat that cooks lubricant and accelerates electronics aging. Spring brings the storms that test every weld and hinge. Fall drops debris into tracks. Winter brings freeze-thaw cycles that widen cracks in concrete footings and gate steel. A gate that survives twenty Texas summers does so because someone looked at it twice a year.
Here’s the twice-a-year routine Hal recommends - fifteen minutes in the spring after storm season, fifteen minutes in the fall before the first freeze.
Spring Checkup (April)
- Listen to a full open-close cycle. Note any new sounds. Compare against the sound library in this guide.
- Inspect the post bases. Look for new shadow lines, new paint cracks, or widened gaps. Heavy spring rain saturates the soil and can shift footings.
- Check hinge lift. Lift the latch end and measure the play. Write it down. You’re looking for change over time, not absolute numbers.
- Clear the track (sliding gates). Remove all oak leaves, gravel, and dirt. Apply fresh lubricant to the wheels and track rail.
- Test the auto-reverse. Place a small obstacle in the gate path and confirm the gate reverses before touching it. This is a safety check, not a maintenance step.
Fall Checkup (October)
- Inspect welds. Look for new cracks and rust lines at every weld joint. Water will get into those cracks over winter and freeze.
- Check hardware tightness. Bolts, screws, latch components. Tighten anything loose and note anything that was loose - if it’s loose again in April, it needs replacement or repair.
- Lubricate hinges and latch. A light machine oil on hinge pins and latch mechanisms before the cold months prevents squeaking and sticking.
- Seal any bare steel. If you have chips or scratches from summer, clean and touch them up before fall humidity gives rust a head start.
- Test the manual release. Every operator has one. Make sure you can open your gate by hand if the power goes out in an ice storm.
Keep a small notebook or a note in your phone. Record what you observed and what you fixed. The value isn’t in any single reading - it’s in the trend line across years. A hinge that lifts a quarter inch one year and three-eighths the next is failing. A hinge that lifts a quarter inch every year has found its set point.
These are the same checks Hal runs on every service call in University Park, just with twenty-nine years of pattern recognition behind them. The Gatewood Fence & Gate home page is the place to start if you want to know more about who you’re calling.
Common Mistakes to Avoid
- Oiling the track on a chain-drive gate without cleaning it first. Oil on top of University Park grit and dust makes a grinding paste that accelerates wear. Clean first, always.
- Assuming a reversing gate is ‘just a sensor.’ As covered above, a gate that reverses at the same spot every cycle is usually a motor laboring against a mechanical problem. The sensor is fine. The operator is dying.
- Ignoring a shadow line at the post base because the gate still works. The gate will still work for months. That’s the trap. The post moves a little each cycle, and the repair gets more expensive with each passing week.
- Painting over rust without removing it. Rust under new paint keeps spreading. It looks better for one season, but the steel is still corroding underneath, and now you can’t see the progression.
- Adjusting hinge tension on a gate with worn pins. You can temporarily lift the gate back into alignment, but the worn pin will settle right back into its flat spot, and the gate will sag again. You’ve bought weeks, not years.
- Letting a slamming gate go because the latch still catches. Every slam stresses the hinge brackets, the latch, and the post. A gate that slams is a gate that’s accumulating damage. Latch adjustments are cheap. Weld repairs are not.
- Waiting until the gate won’t open to call someone. By the time a gate is completely dead, the repair has usually lapsed from a $50 adjustment into a $500 component replacement. The warning signs were there. That’s the whole point of this guide.
When to Call a Professional
Some of the checks in this guide are homeowner-level, and you’ll find more guides & resources on our site. Tightening a bolt, clearing a track, touching up surface rust - those are weekend jobs. But the moment you see structural movement, worn hinge pins, weld cracks, or operator behavior that suggests board failure, it’s time to call someone who does this every day.
Specific scenarios that need a pro: a post that moves when you push on the gate, a hinge that lifts more than a quarter inch, a weld with a visible crack or rust line running through it, a gate operator that reverses at the same spot every day, or rust that has progressed to flaking or structural compromise. These are not DIY situations. Gate springs, cables, and operator boards can be dangerous when they fail - and the person reaching into the mechanism when it lets go is the one who gets hurt. A trained professional knows where the stored energy is and how to release it safely.
Gatewood Fence & Gate offers free estimates in University Park - call (936) 296-2568 and Hal will come look at the gate himself. He’s been doing this since 2001, his name is on the shop, and the shop is down the road. That’s the oldest accountability there is.
Frequently Asked Questions
A failing post shows a shadow line at the concrete base, paint separation right at the footing, or a gap between the gate and latch post that changes depending on whether the gate is open or closed. In University Park, clay soil expansion and contraction makes post movement more likely after dry spells and heavy rain - check the post base in spring and fall.
It’s not an emergency today, but it will be. Grinding on a chain-drive opener usually means a stretched chain or a worn sprocket, and every cycle widens the damage. Call before the parts get more expensive. A chain adjustment inside University Park is far cheaper than replacing a burned gate motor.
Normal sag is when the gate sits slightly lower after years of use but the hinges still hold tight. Hinge failure means you can lift the latch end of the gate and feel the play in the hinge pins. A gate that lifts more than a quarter inch needs new hinge pins, not just an adjustment.
Gate repair in University Park typically runs $150 to $400 for most hinge, latch, and operator adjustments, with more involved repairs like post resets or weld rebuilds running higher. The best way to know is to call (936) 296-2568 for a free estimate - the price is quoted and agreed before any work starts.
You can if you’re a competent welder with the right equipment, but most homeowners aren’t, and a bad weld on a load-bearing gate member is worse than no weld at all - it hides the original crack until the joint fails completely. Hal welds on site in University Park, so your gate doesn’t need to leave your driveway.
Yes. We service LiftMaster, FAAC, BFT, Linear, Viking, Ghost Controls, DoorKing, Elite, and Mighty Mule operators, and a live person answers the phone 24/7. If your gate is reversing, whining, or refusing to open from the remote, call (936) 296-2568 and describe what you’re hearing - that’s usually enough to know what we’re dealing with before we even show up.
The Bottom Line
A gate in University Park fails the same way every time: a post works loose, a hinge pin wears flat, a weld cracks, a drive chain stretches, an operator board burns out. Each one of those failures announced itself weeks or months earlier with a shadow line, a lift test result, a grinding noise, a reversing cycle. The homeowner who knows what to look for catches the problem at the adjustment stage. The homeowner who doesn’t catches it at the replacement stage. This guide exists to put you in the first group. If you’ve seen any of the warning signs here, don’t wait for the gate to make the decision for you. Call (936) 296-2568 for a free estimate - you’ll talk to a live person, and Hal will show up in the window he promised.
Written by Hal Gatewood, Owner at Gatewood Fence & Gate, serving University Park since 2001.