
Last updated August 26, 2026
Free on-site gate assessment - hinges, posts, and your LiftMaster or Nice gate operator checked before anything is quoted
The assessment is free and the quote is the invoice.
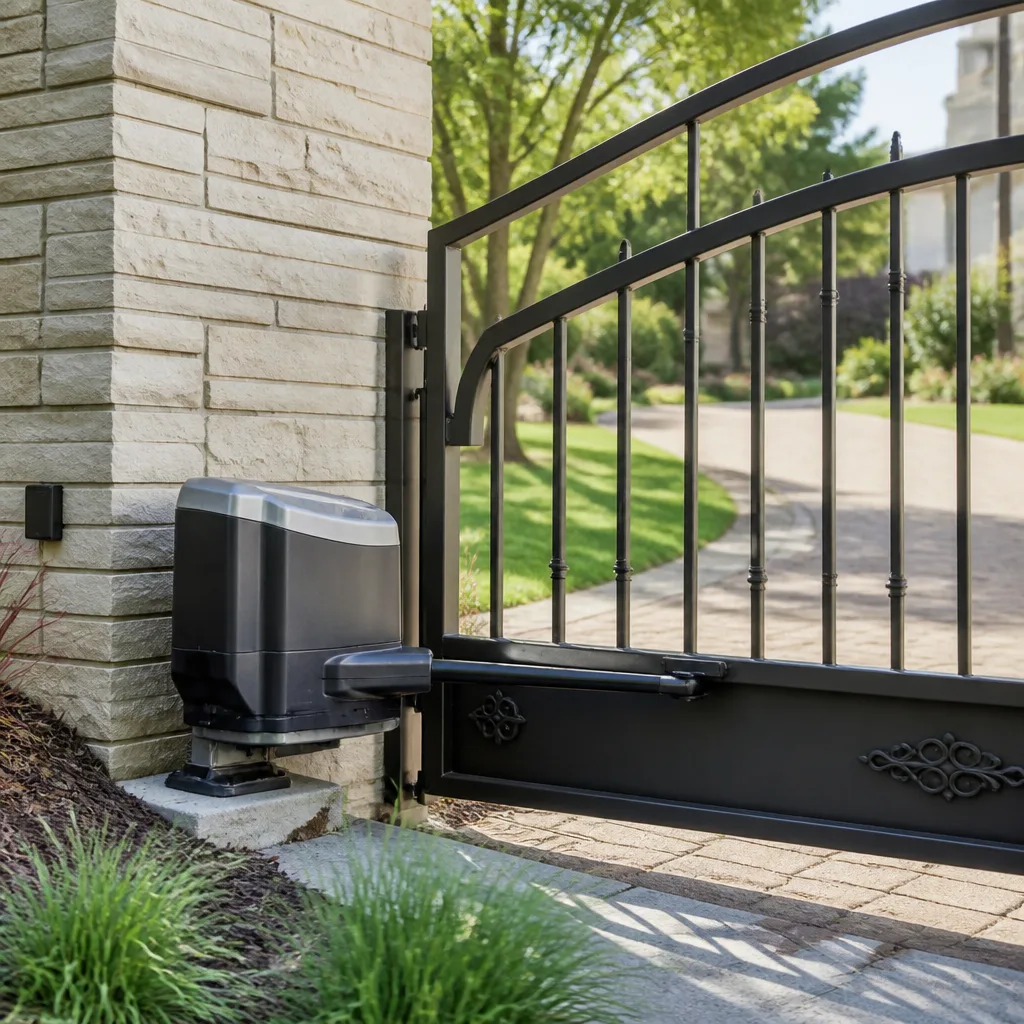
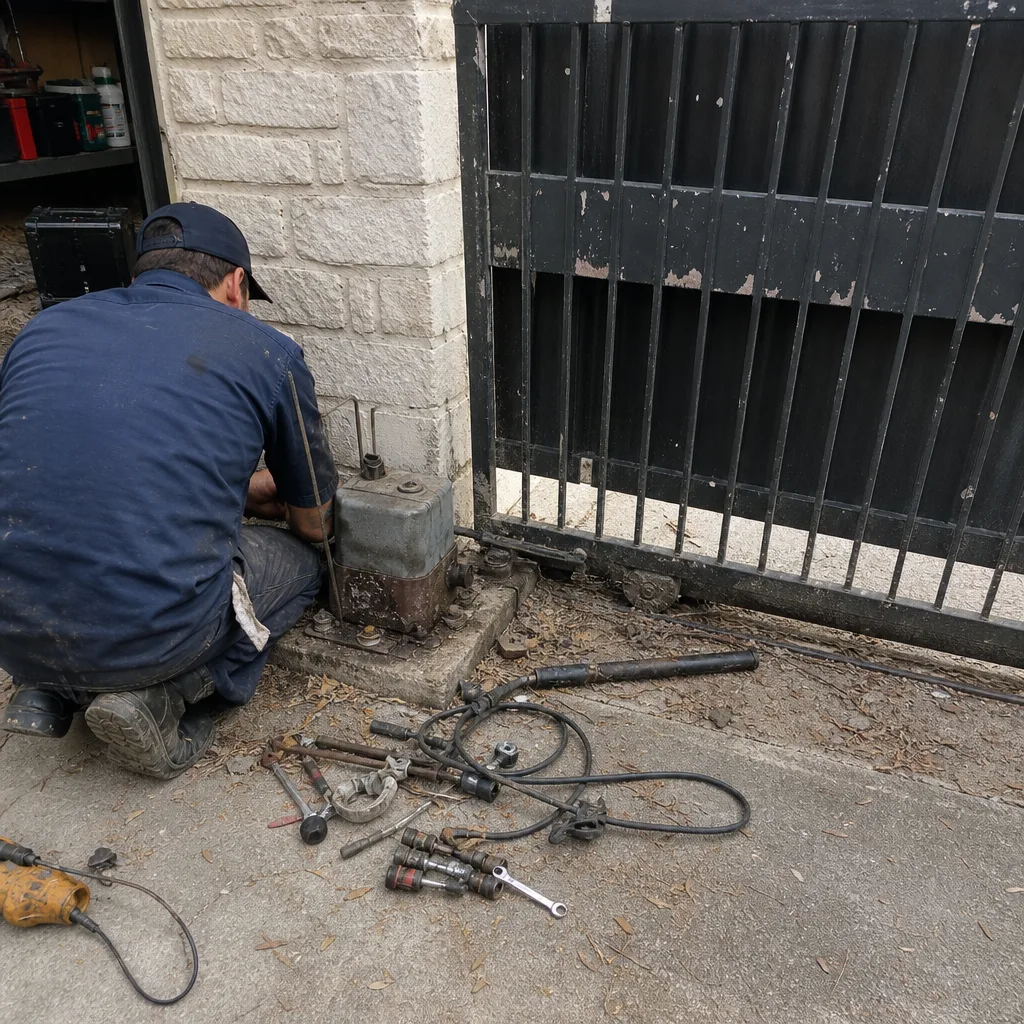 Before
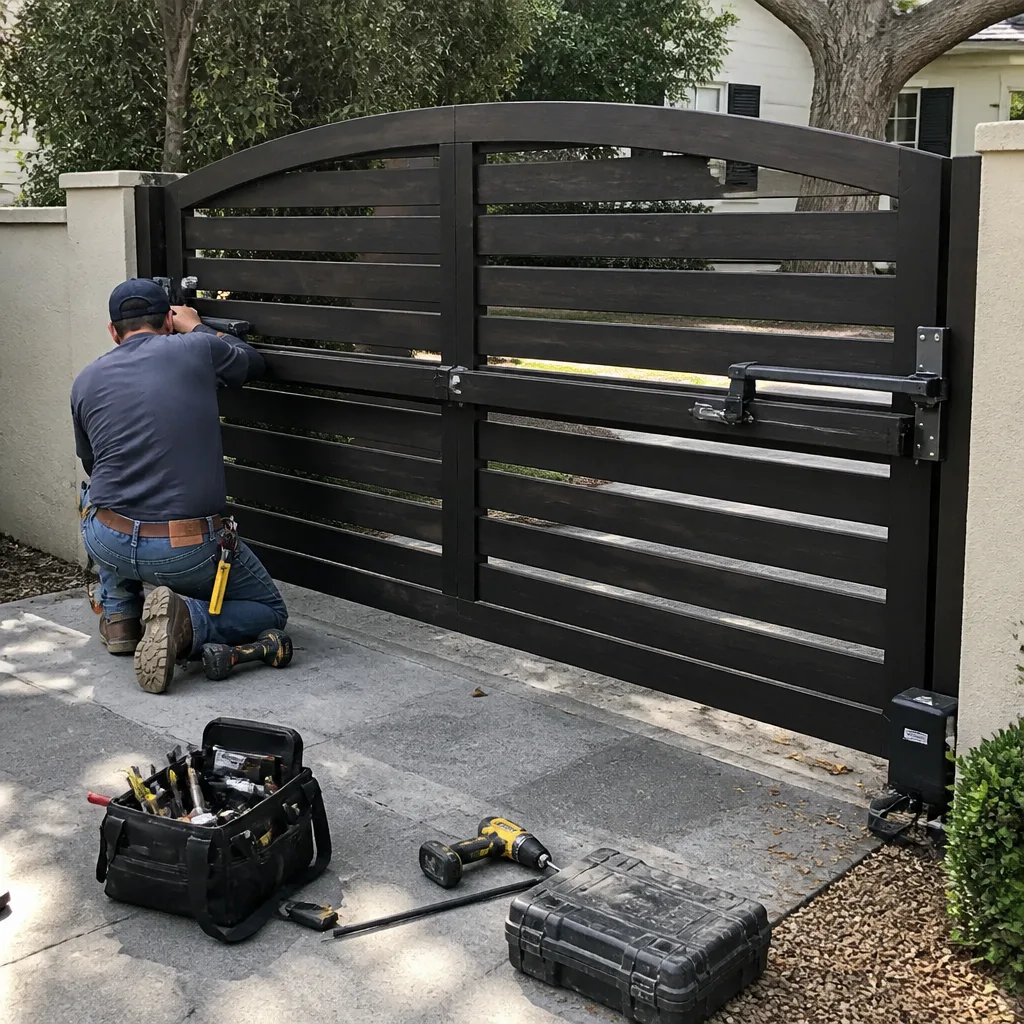 After
After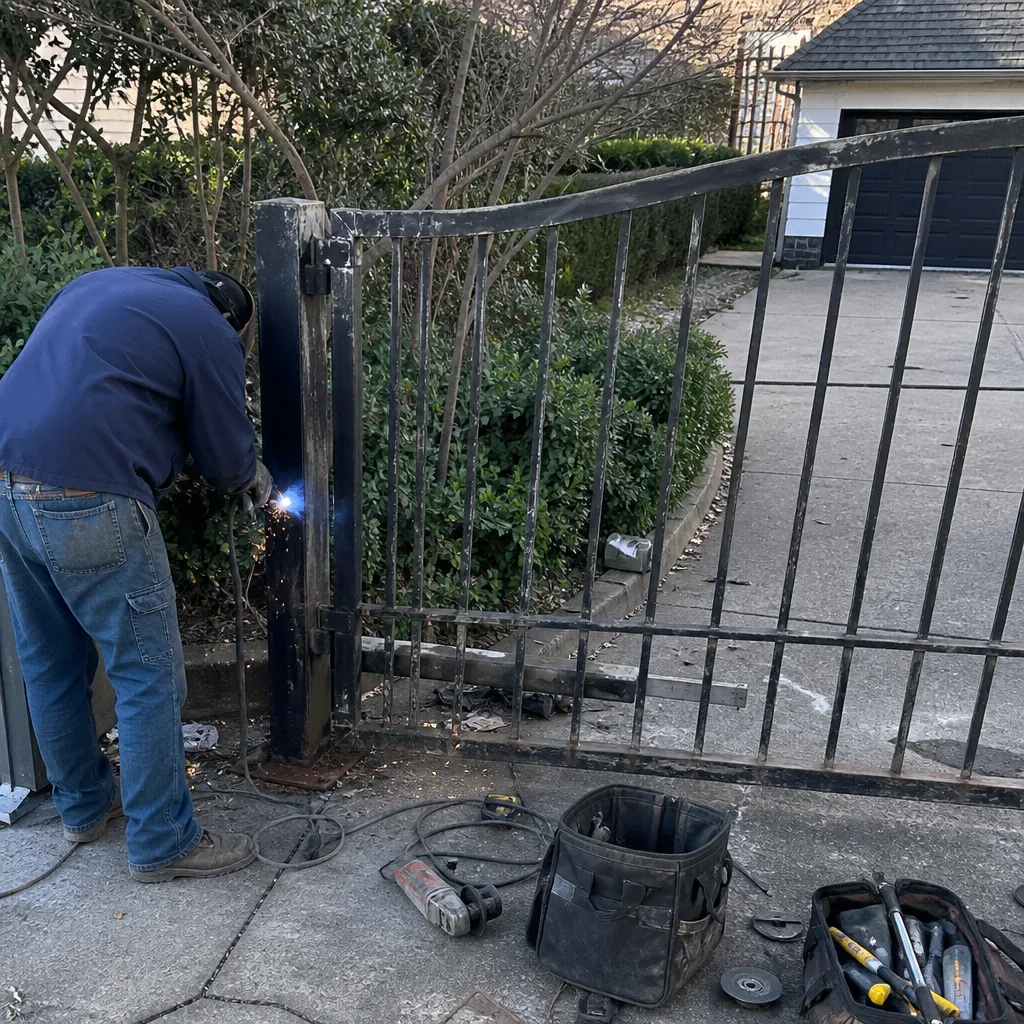 Before
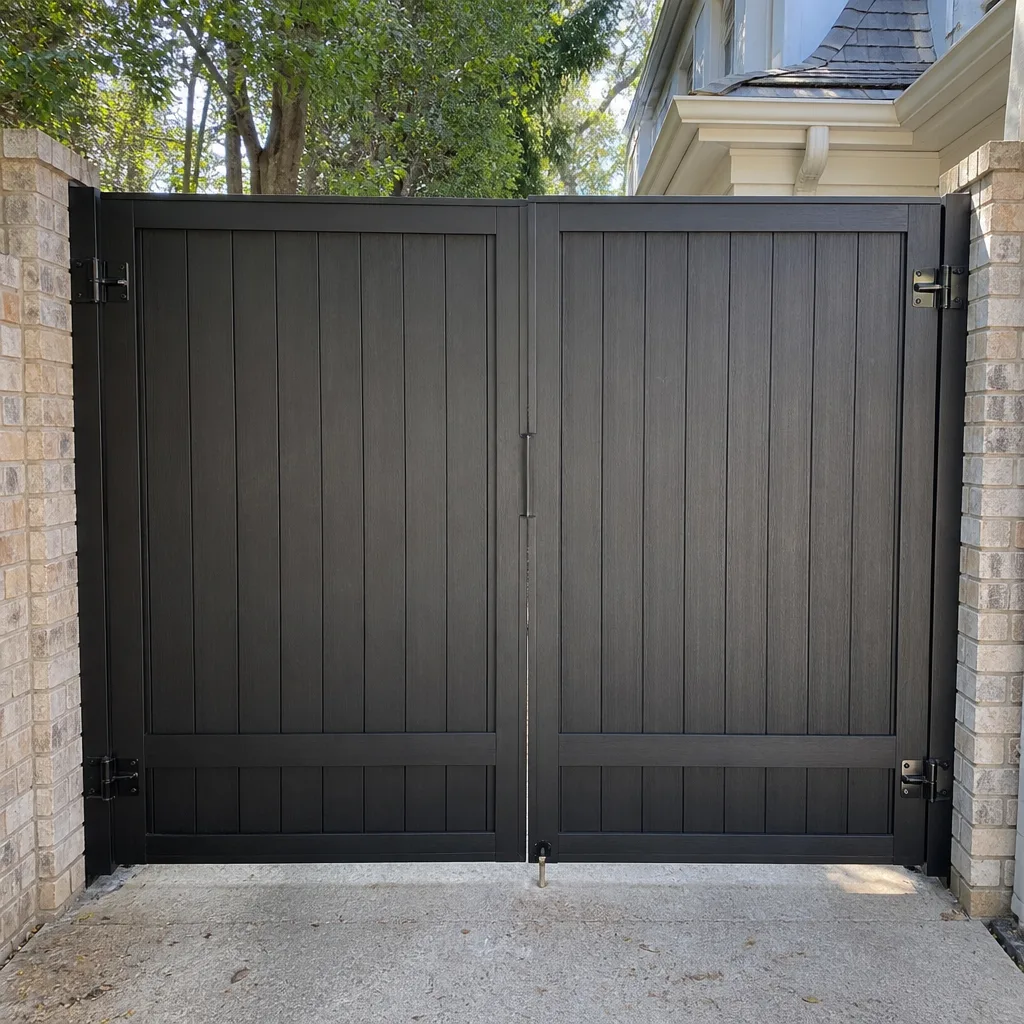 After
After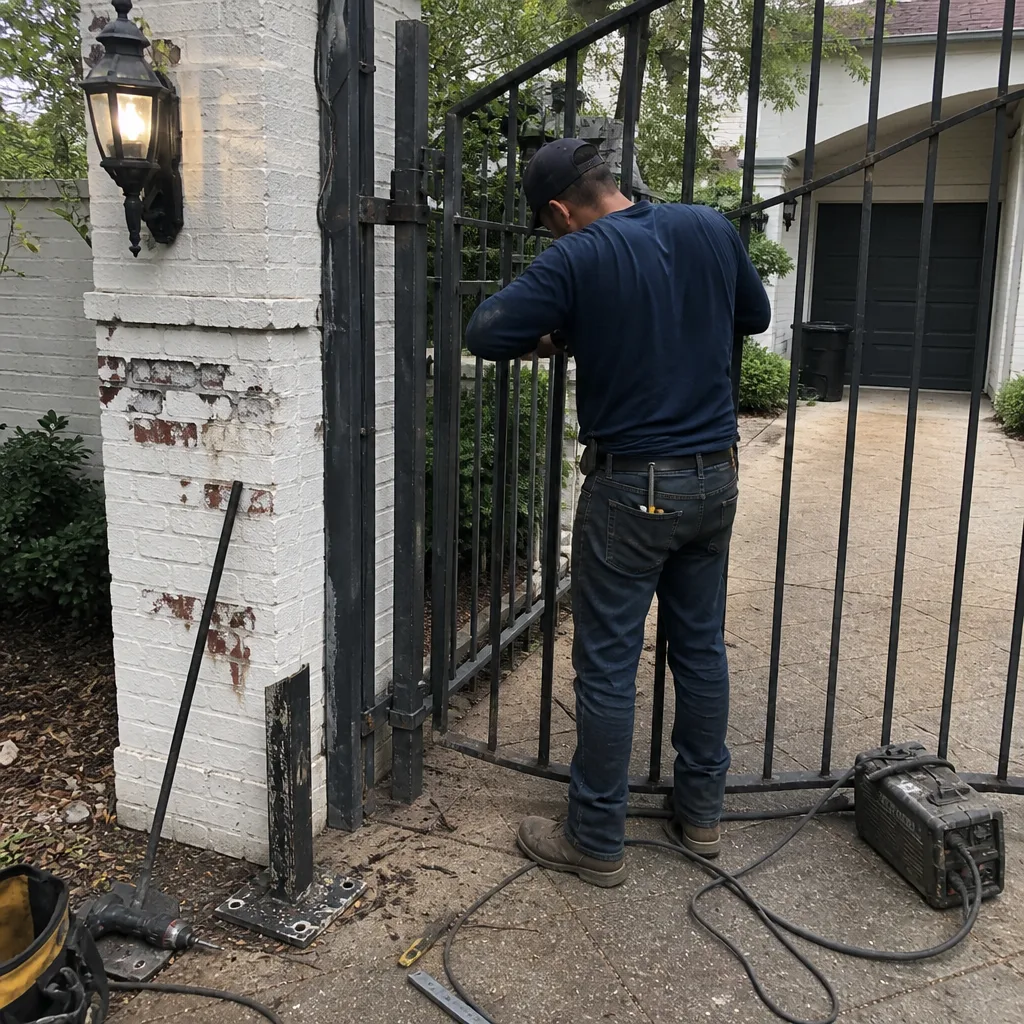 Before
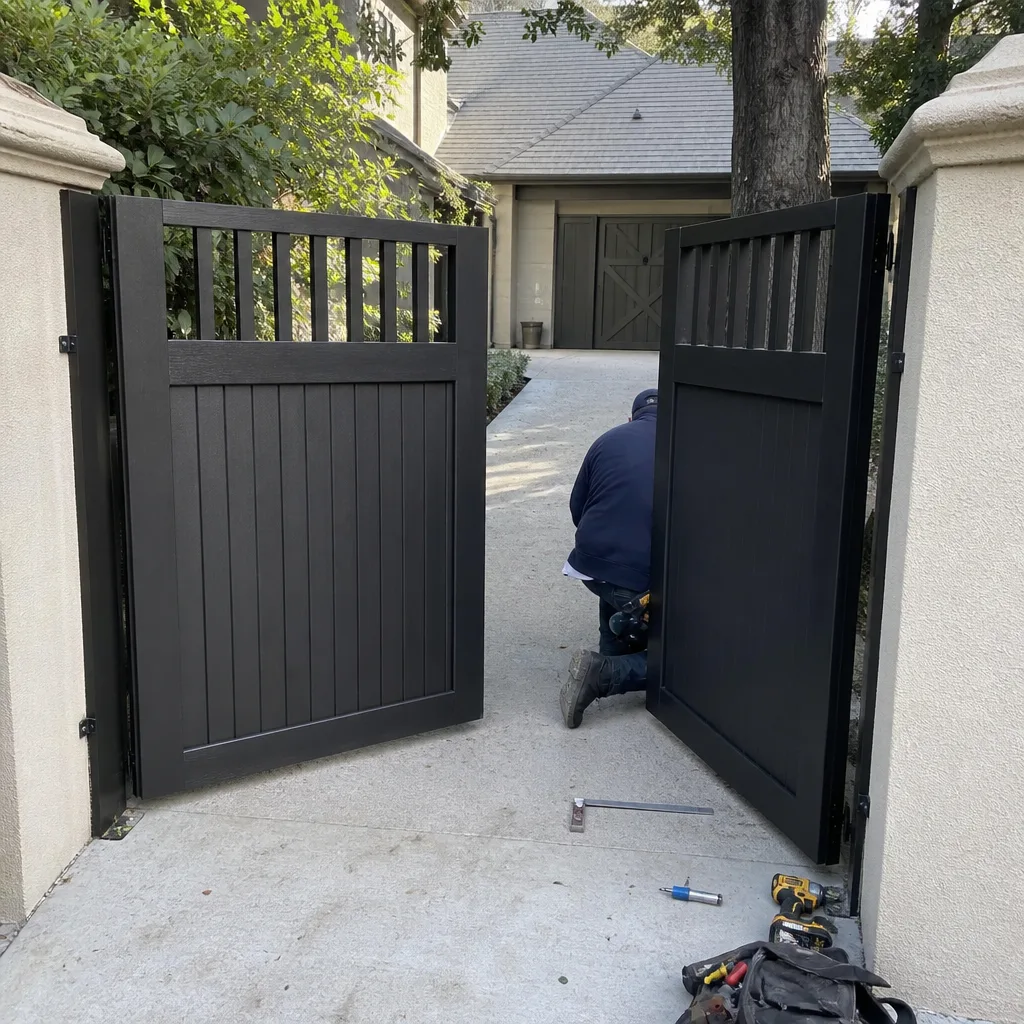 After
AfterGate Repair Maintenance Checklist for University Park Homeowners
Here is something most gate maintenance guides won’t tell you: the gate didn’t fail the day it stopped opening. It failed months earlier, quietly, in a hinge pin or a track roller or a limit switch that nobody noticed because nobody knew to look. Hal Gatewood can walk up to a gate in University Park he’s never seen and tell you within sixty seconds whether the owner has been maintaining it. Not because neglect is obvious, but because the failure sequence is almost always the same and it leaves a trail. This checklist is built around that sequence, so you catch problems in the order they actually happen, before a $40 adjustment becomes a $1,800 operator replacement. And before the gate drops on a car, a kid, or a delivery driver who trusted it to hold.
Quick Answer
A gate maintenance checklist that matters to University Park homeowners is organized by failure sequence, not by season: check hinge and track wear monthly, lubricate operator-specific points quarterly, test balance and safety sensors every six weeks, inspect welds for rust streaking and fatigue cracks each spring, and document post movement with a phone camera every month. Most expensive gate repairs we see in University Park come from skipping two or three of these simple checks for a year or more. When the damage is already done, our Gate Repair services can address the problem before it gets worse.
Table of Contents
- Why the Order Matters More Than the List
- What Breaks First: Hinge Wear, Track Wear, and the Post That Started It All
- The Lubrication Points That Actually Matter (And the One Spot Everyone Misses)
- The Five-Minute Gate Balance Test That Saves Operators
- Weld Fatigue: The Warning Signs That Show Up Months Before a Failure
- The Monthly Phone-Camera Trick for Tracking Post Movement
- University Park HOA Requirements and Documenting Your Upkeep
- Common Mistakes to Avoid
- When to Call a Professional
- Frequently Asked Questions
- The Bottom Line
Why the Order Matters More Than the List
A checklist that just says “lubricate hinges twice a year” is not a checklist. It’s a suggestion with no sense of consequence. Gates fail in a sequence, and that sequence is almost always the same on residential properties in University Park. Understanding it changes everything about how you maintain your gate.
Here is the sequence we see over and over: something small wears out or drifts out of adjustment. The gate starts working harder to do the same job. The operator compensates for that extra resistance by pulling more current. The motor runs hotter. The gears strip or the control board burns out. And at that point, the homeowner is not replacing a $12 hinge bearing. They’re replacing a $900 operator or a $2,000 gate panel that twisted when a weld failed under load it was never meant to carry.
The order below follows that failure chain from the first worn part to the last expensive component. If you work through it in order, you catch the small thing before it becomes the big thing. Work it backwards, or skip around, and you’ll miss the hinge pin that’s been grinding itself to dust for eight months while you were worrying about whether the keypad battery was fresh.
University Park’s clay soil makes this sequence move faster than it does in other parts of the country. The soil expands when it’s wet and contracts when it’s dry, and every cycle works the posts a little looser. Add in the summer heat, which bakes the grease out of pivot points and causes steel to expand and contract through a wider temperature range than it would in a milder climate, and you’ve got the conditions for faster wear on everything from hinge pins to track rollers. We’ll come back to that.
If you’d rather have someone work through this sequence with you, our gate repair service in University Park starts with a walkthrough of exactly what we’re seeing on your property. That’s how we prefer to work anyway.
What Breaks First: Hinge Wear, Track Wear, and the Post That Started It All
Before we get to the maintenance steps themselves, you need to know what you’re actually maintaining. Here’s the order in which we see components fail on University Park gates, year after year.
The Failure Sequence on a Swing Gate
- Hinge bearings and pins. This is where almost every swing gate problem starts. The hinges carry the entire weight of the gate panel, and they do it through a small contact surface. When the grease dries out or the bearing gets grit in it, the pin starts to wear. The gate drops a fraction of an inch. Now the latch doesn’t line up. Now the operator is pushing against gravity and friction and a misaligned latch. This is the beginning.
- The hinge post. A gate sags in the hinge post, not in the middle, and that is where we start. When the hinge post leans even half a degree out of plumb, the gate panel hangs crooked and every cycle drags on the hinges. In University Park’s clay soil, posts lean because the ground moves. We’ll cover this in the post movement section below.
- The latch and strike plate. Once the gate drops a quarter inch, the latch doesn’t line up with the strike plate anymore. Homeowners start slamming the gate or forcing it closed. That bends the latch arm. Then the operator has to fight a bent latch to get the gate fully closed.
- The operator. The operator burns out last, but it burns out because of the three items above. The motor wasn’t designed to push a gate whose weight is grinding through dry bearings and whose latch is binding on a misaligned strike. We’ve replaced operators on University Park gates where the hinge pins had been grinding for two years. The owner never noticed because the operator motor just kept working harder until it cooked itself.
The Failure Sequence on a Slide Gate
- Track and track rollers. Slide gates live and die by their track. When rollers wear flat on one side or the track gets packed with gravel and clay from the driveway, the gate doesn’t slide, it drags. The operator’s drive gear then has to work against that resistance, and the teeth start to strip.
- Adjustable roller brackets. After enough dragging, the adjustable brackets that hold the rollers start to creep or bend. The gate rides a little lower. Now it’s scraping the ground at the catch post.
- The chain or gear rack. As the gate rides lower and drags harder, the chain links stretch or the rack teeth wear unevenly. This is where a lot of slide gate operators start skipping or making a grinding noise on each cycle.
- The operator (again). The operator fails after the mechanical parts have already been failing for a while. We’ve pulled covers off slide gate operators in University Park and found the internal gears ground down to paste because the owner never noticed the gate was dragging six inches of resistance on every cycle.
The point of knowing these sequences is not to memorize them. It’s to understand that the next section, the lubrication points, is where maintenance actually works. Lube the right parts at the right time and you slow the whole sequence down. Skip it and the operator burns out early no matter how careful you are with everything else.
If your gate is already at the operator-burned-out stage, that’s what our gate motor and opener service in University Park handles every week. But the goal of this checklist is to keep you as far from that stage as possible.
The Lubrication Points That Actually Matter (And the One Spot Everyone Misses)
Most lubrication advice for gates is generic: spray the hinges, spray the rollers, done. That advice misses the difference between a swing gate and a slide gate, and it misses the one spot that causes more operator burnouts in University Park than any other single maintenance failure.
Swing Gate Lubrication Points (In Order of Importance)
- Hinge bearings and pins. This is the single most important lubrication point on a swing gate. Use a white lithium grease or a marine-grade bearing grease, not WD-40. WD-40 is a solvent and a water displacer; it cleans the old grease out and leaves almost nothing behind. Apply grease to the top of each hinge pin and work the gate back and forth a few times to draw it into the bearing surface. Do this every three months, and more often if the gate gets direct afternoon sun, because University Park summers bake grease out of hinges fast.
- The latch mechanism. The latch is a moving part under load, and it gets rain, dust, and heat. A dry latch is the most common reason a gate won’t close all the way, which is the most common reason an operator gets out of adjustment, which is the most common reason you get a service call that costs twice what a tube of grease costs. Grease the latch pivot and the strike plate contact point twice a year.
- The operator’s internal drive chain or screw. On chain-drive and screw-drive swing gate operators, the internal drive mechanism is often overlooked because homeowners don’t think about the inside of the operator box. But that chain or screw drives the gate arm, and if it runs dry it wears fast. A light machine oil on the chain or a white lithium on the screw threads, once a year, is plenty.
Slide Gate Lubrication Points (In Order of Importance)
- Track rollers. The axle bearings inside the track rollers are the swing-gate hinges of the slide gate world. They carry the full weight of the gate and they roll constantly. If they run dry, they start to flat-spot, and a flat-spotted roller drags instead of rolls. Grease each roller bearing with a lithium grease every three months. If the fittings are sealed and you can’t get grease in, wiping the axle ends with a light oil is better than nothing.
- The drive gear and rack. On a slide gate, the operator’s drive gear meshes with a toothed rack along the gate frame. That mesh point takes constant friction. A light coating of white lithium on the rack teeth every six months keeps the gear from grinding the teeth down. Don’t overdo it; too much grease just collects sand and makes a grinding paste out of it.
- The sliding track itself. Debris on the track is not a lubrication problem, it’s an alignment and drag problem. But the track should be kept clean of gravel, dirt, and leaves. In University Park, oak leaves and gravel from driveways end up in slide tracks constantly. Clear the track every month and check that the rollers are sitting square on it.
The One Spot Everyone Misses
The one lubrication point almost every homeowner misses on both swing and slide gates is the operator’s internal limit switch mechanism and the manual release lever. On most electric gate operators, there’s a manual release lever or key that disengages the operator so you can push the gate open during a power outage. That release mechanism sits outside or inside the operator housing and is exposed to moisture. When it corrodes or seizes, you discover it at the worst possible moment: the power is out, the gate is closed, and you can’t disengage the operator to open it by hand. We’ve gotten more than one Sunday-morning call in University Park where the gate was stuck closed purely because the release lever had never been lubed since the day it was installed. A shot of silicone spray or light machine oil on the release mechanism twice a year solves that problem permanently.
While you’re at it, check the operator’s limit switches. On FAAC and BFT operators, which we service regularly in University Park, the limit switches tell the motor when to stop. If they’re out of adjustment, the gate slams into the open or closed stops on every cycle, and that shock load travels through the entire gate structure. We’ll come back to balance and limits in the next section.
The Five-Minute Gate Balance Test That Saves Operators
Here’s a fact most gate owners never hear: an out-of-balance gate destroys operators three times faster than normal use. The motor has to work harder on every single cycle, and that extra heat builds up in the windings until the motor burns out. The test below takes five minutes and doesn’t require any tools. It’s the highest-value maintenance step on this list.
How to Test Swing Gate Balance
- Disengage the operator. Every swing gate operator has a manual release. Find the release lever or key on your specific model (it’s on the underside or behind a small access panel on most units). Disengage the operator so the gate swings freely under its own weight.
- Open the gate halfway. Swing the gate to the halfway point and let go completely. Stand clear.
- Watch what happens. A properly balanced gate will stay roughly where you left it or drift very slightly closed. If the gate swings itself fully open or fully closed, it’s out of balance. If it swings fast enough that it slams into the open or closed stop, it’s severely out of balance.
- Push the gate slowly through its full range. Pay attention to resistance. Does it feel smooth the whole way, or does it hitch at a certain point? A hitch usually means a worn hinge bearing or a bent hinge pin. That’s the sound of money leaving your wallet if you ignore it.
- Re-engage the operator. Never leave the gate disengaged, especially if you have a Linear or Viking operator with an automatic re-lock. Set it back exactly how you found it.
How to Test Slide Gate Balance
- Disengage the operator. The release on most slide gate operators is a lever or chain on the side of the motor housing. Pull it and confirm the gate rolls freely.
- Roll the gate halfway. Push the gate along its track to the midpoint.
- Let go. A well-balanced slide gate on a level track will stay put. If the gate rolls forward or backward on its own, the track is not level or the gate’s weight is unevenly distributed on the rollers.
- Listen as you push. A grinding, rumbling, or clunking sound means a roller bearing is failing or debris is caught in the track. Rollers fail one at a time, and the gate will still move long after the first one flat-spots. By the time it’s obvious, you’ve already been dragging the gate across the track for months.
- Re-engage. Same as above.
Run this test every six weeks. It takes longer to read about than to do. And if you find the gate is out of balance, don’t just adjust the operator to compensate. Fix the mechanical problem first. Cranking up the operator’s force setting to overcome a dragging gate is like turning up the radio to ignore a failing engine. The problem’s still there, and it’s getting worse.
For a full rundown of what goes into a professional balance and alignment service, our gate installation page for University Park walks through the structural considerations, and the same principles apply whether you’re installing new or maintaining an existing gate.
Weld Fatigue: The Warning Signs That Show Up Months Before a Failure
Weld failures rarely happen without warning. The steel tells you it’s failing long before it actually breaks. The problem is that most homeowners don’t know how to read the signs, and by the time the weld pops, the gate has twisted or dropped and taken the operator with it.
What Rust Streaking Actually Means
There’s a difference between surface rust and the kind of rust streaking that signals a structural problem. Surface rust is a light, even orange-brown coating that appears on exposed steel, especially after humid University Park summers. It’s cosmetic. Wire brush it, prime it, paint it, and move on.
Rust streaking is different. When you see dark brown or black streaks running down from a joint, especially a weld, that’s not surface rust. That’s moisture working its way through a crack or a gap in the weld itself. The rust is forming from the inside of the joint, and the streaking is the rust being washed out by rain. A rust streak at a weld means water is getting inside a joint that should be sealed. That water accelerates the crack. What looks like a cosmetic problem is actually the weld telling you it’s already compromised.
Where to Look for Weld Fatigue on a Swing Gate
- Where the hinge brackets meet the gate frame. This is the highest-stress point on any swing gate. Every cycle of the gate puts repetitive load on these welds. Look for hairline cracks running perpendicular to the weld bead, rust streaking from the seam, or paint that’s flaking more aggressively at the joint than anywhere else on the gate.
- Where the diagonal brace ties into the gate frame. The diagonal brace is what keeps a swing gate from sagging into a parallelogram. If the weld at either end of that brace is compromised, the gate loses its structural triangle and starts to rack. You’ll see cracking or rust streaking at the brace connection points six to twelve months before the gate drops.
- Where the operator arm bracket attaches. The operator pushes and pulls on this bracket with every cycle. The weld here takes cyclic loading on every single open and close. Inspect this one closely, because a failure here doesn’t just drop the gate, it can send the operator arm swinging free.
Where to Look on a Slide Gate
- Where the rack attaches to the gate frame. The rack is bolted or welded to the bottom rail of a slide gate, and it takes constant force from the drive gear. Check for cracked welds or loosening bolts at every rack attachment point along the full length of the gate.
- Where the end posts connect to the top and bottom rails. Slide gates crash into the end stops on every cycle. That impact load travels through the frame to the end post connections. Welds at the corners of the gate frame take a beating they were designed to take, but only if the gate’s limit switches are set correctly. A gate that slams into the stops hard is a gate that’s slowly cracking its own frame.
- Any place two pieces of steel meet. That’s the general rule. Weld inspections don’t need special tools. A bright flashlight and five minutes of looking at the joints up close will show you more than most gate owners ever know about their own gate.
At our shop, Gatewood Fence & Gate does on-site welding on these failures all the time. We fix the gate in your driveway rather than hauling it off or telling you to replace the whole panel because one weld cracked. Most weld repairs are a few hundred dollars, and they should be done while the crack is small, not after the gate has twisted into an untrued frame.
The Monthly Phone-Camera Trick for Tracking Post Movement
In University Park, the most common structural gate problem we see is not the gate at all. It’s the posts. The clay soil here moves. When it rains, the soil swells. When it’s dry for six weeks in August, the soil contracts and cracks. Every cycle of wet and dry works the posts a little looser, a little further out of plumb. A gate sags in the hinge post, not in the middle, and that is where we start.
The problem is that post movement happens slowly. By the time you can see that a post is leaning, it’s been moving for a year or more. The trick below catches it early, using nothing but the phone in your pocket.
The Phone-Camera Method
- Stand at the same spot every month. Pick a spot about twenty feet back from the gate, perpendicular to the gate line, with the gate in the closed position. It doesn’t have to be exact, but the closer you can get to the same spot each month, the easier the comparison will be.
- Line up the edge of the post with a reference point in the background. The key to this trick is having a fixed reference behind the post. That could be the corner of your house, a fence line, a utility pole, or a tree trunk. Line up your phone so the edge of the gate post touches the edge of that background reference in the frame.
- Take the photo. Hold the phone vertical so the image is not distorted by tilt. Take the shot with the widest lens on your phone. Don’t zoom.
- Compare this month’s photo to last month’s. If the post edge is no longer touching the background reference, the post has moved. A gap of even a sixteenth of an inch at twenty feet away means measurable movement at the post.
- Save the photos in a labeled folder. This is a running record that builds itself over time.
Run this routine monthly. It takes ninety seconds, and it gives you an objective record of what the clay soil is doing to your gate posts. If you see movement two months in a row, the post is not settling; it’s going. That’s when you want to call someone before the gate frame twists and the whole installation loses its geometry.
The same trick works for the horizontal alignment of a slide gate’s track posts, which is just as important. A slide gate track that’s moved half an inch out of level will drag the gate and cook the operator, and the track is only as straight as the posts holding it.
University Park HOA Requirements and Documenting Your Upkeep
If you live in a University Park neighborhood with a homeowner’s association, your gate is not just your gate. It’s part of the street-facing aesthetic of the community, and most HOAs have specific rules about gate condition, materials, and sometimes even color. That’s true whether you’re in a newer subdivision off Preston Road with a decorative iron gate or an older neighborhood where the gates date back to the original build.
The most common HOA-related gate issues we see are: a requirement to keep the gate painted and free of visible rust; restrictions on gate height and style for any replacement; and, in some communities, a requirement that any electric gate operator be maintained so that the gate does not become a hazard to neighbors or delivery personnel. If your HOA has specific maintenance requirements for gates, usually in the community standards or architectural guidelines, those requirements trump whatever schedule you’d naturally follow.
How to Document Your Upkeep
Here’s where the phone-camera trick from the last section pays twice. If your HOA ever raises a question about your gate’s condition, or if there’s a dispute about whether a fence or gate repair is your responsibility versus a shared responsibility, your documentation matters. In our experience, the homeowners who keep a simple maintenance log are the ones who resolve disputes quickly and cheaply.
- Keep a simple notebook or a note on your phone. Each entry: date, what you inspected, what you found, what you did. Three lines. “March 14: inspected hinges, no play; greased bearing points; post camera photo taken; no movement.” That’s it.
- Save the monthly photos in a folder labeled by month. If a post was moving and you called someone to fix it, that’s documented too.
- Keep receipts for any professional service. If we come out and adjust a gate, replace a roller, or weld a crack, you get a receipt. Keep it with the photos. Maintenance records are what separate a homeowner who maintains their gate from one who waits for it to fail.
- If your HOA has a specific inspection or maintenance requirement, note that in your log and check it off explicitly each time you do it.
In our experience servicing University Park gates for over 20 years, an HOA gate dispute almost always comes down to one thing: can the homeowner show they’ve been maintaining the gate, or can’t they? A one-page log and a phone folder full of photos is the difference between a quick resolution and a stressful back-and-forth.
Common Mistakes to Avoid
- Using WD-40 on hinges and bearings. WD-40 is a solvent and water displacer. It cleans grease out and leaves a thin film that evaporates. Every time you use it on gate hinges, you’re stripping the lubrication that was keeping the bearing quiet. Use white lithium grease or a proper bearing grease.
- Adjusting the operator before fixing the mechanical problem. When a gate starts moving slower or straining, the first instinct is often to crank up the force or sensitivity setting on the operator. That masks the real problem and grinds the gate’s mechanical parts down faster. The operator’s force setting should be adjusted after the gate moves freely.
- Ignoring the manual release lever. The manual release is the emergency exit for your gate. If you’ve never tested it, you don’t know whether it works. The first time you need it will be when the power is out and the gate is closed. Lube it twice a year and test it at least once a year.
- Neglecting the hinge post because it looks fine. The post is the foundation of the whole installation, and in University Park’s clay soil it moves. The monthly camera trick exists because post movement is invisible for the first year. Almost every homeowner who’s ever told us “the gate just suddenly sagged” actually had a post that had been leaning for twelve months.
- Waiting for a squeak to become a slam. A noisy gate is a talking gate. A small squeak from a hinge bearing is cheap to fix. A loud grinding sound from an operator drive gear is not. By the time the gate sounds like it’s hurting, it has been hurting for a while.
- Painting over rust without treating the metal underneath. Wire brushing, priming, and painting is the right sequence. Painting over active rust just seals moisture in and accelerates the corrosion. In University Park’s humidity, this is a summer project, not a spring one. The surface needs to be dry for the primer to bond.
- Assuming the gate operator’s warranty covers owner neglect. Most operator manufacturers, including the major brands we certify on like FAAC, BFT, Linear, and Viking, will void a warranty claim if the operator failed due to an improperly maintained gate. Running an operator against a dragging gate for a year is not a manufacturing defect. That’s a maintenance failure, and the warranty is gone.
When to Call a Professional
Some gate maintenance is homeowner work. Some of it is not. You should not climb on top of a slide gate to reach a weld. You should not attempt to cut, grind, or weld steel unless you’re trained and equipped for it. And you should not try to reposition a leaning post by digging it out and re-setting it yourself, because a gate post under load is under tension and a post that comes free can take a gate panel with it, and a gate panel can take a hand or a head. Call someone for these.
More practically, call a professional when: the gate is out of balance and you’ve verified it with the five-minute test above; you see rust streaking at any weld; the post camera shows movement two months in a row; the operator is making a grinding sound; or the gate is slamming into its stops at the end of each travel. Gatewood Fence & Gate offers free estimates in University Park. Call (936) 296-2568 and Hal or someone from his crew will walk the gate with you, tell you exactly what’s wrong, and quote the price before any work starts. The price is the price.
Frequently Asked Questions
Lubricate hinge bearings and track rollers every three months, and the latch mechanism every six months. University Park’s summer heat bakes grease out of pivot points faster than in cooler climates, so if your gate gets direct afternoon sun, every two months is safer for the hinges.
Use a white lithium grease or a marine-grade bearing grease, not WD-40. WD-40 cleans out old grease and leaves almost nothing behind. A tube of lithium grease costs about $8 at any auto parts store and lasts for years.
Yes. Disengage the operator using the manual release lever, open the gate to the halfway point, and let go. A properly balanced gate will stay put or drift slightly closed. If it swings or rolls to one side on its own, the gate is out of balance and the operator is working harder than it should on every cycle.
Look for dark brown or black rust streaking running down from the weld seam. That streaking means moisture is getting inside a crack in the joint. Also look for hairline cracks running perpendicular to the weld bead, or paint that’s flaking at the joint more aggressively than the surrounding steel. These signs appear six to twelve months before the weld lets go completely.
Pull together your maintenance records: the log you’ve kept, the monthly post photos, and any receipts from professional service. Document what you’ve been doing and what condition the gate is actually in, then respond in writing. If the gate needs repair, get that scheduled. A documented maintenance history is the fastest way to resolve an HOA dispute about gate condition.
In most cases we see in University Park, the operator burned out because a mechanical problem upstream forced it to work harder than it was designed to. Hinge bearings ran dry, a roller flat-spotted, a post moved, or the gate fell out of balance. The motor cooked itself compensating for a problem that cost $50 to fix a year earlier. The operator was the victim, not the cause.
If you have a question that’s not covered here, call (936) 296-2568. A live person answers, and if Hal’s on a ladder he’ll call you back from his own phone, not a call center.
The Bottom Line
Gates fail in a sequence, and maintaining one in University Park means working that sequence in order. Check the things that wear first: hinge bearings, track rollers, welds, posts. Lube the right points with the right grease. Test the balance every six weeks and the post movement every month. Document everything. And when the small thing shows up, fix the small thing before it becomes the big thing. A gate that runs smooth today is a gate that was maintained six months ago. If you want someone to walk your gate with you and tell you exactly where it stands, call (936) 296-2568. We’ll quote the price before any work starts, and every job carries the 90-Day Done Right Promise in writing. That’s how we’ve done it in University Park since 2001, and that’s how we’ll do it for you.
Written by Hal Gatewood, Owner at Gatewood Fence & Gate, serving University Park since 2001. Browse more guides & resources on gate maintenance and repair.