
Last updated August 26, 2026
Free on-site gate assessment - hinges, posts, and your LiftMaster or Nice gate operator checked before anything is quoted
The assessment is free and the quote is the invoice.

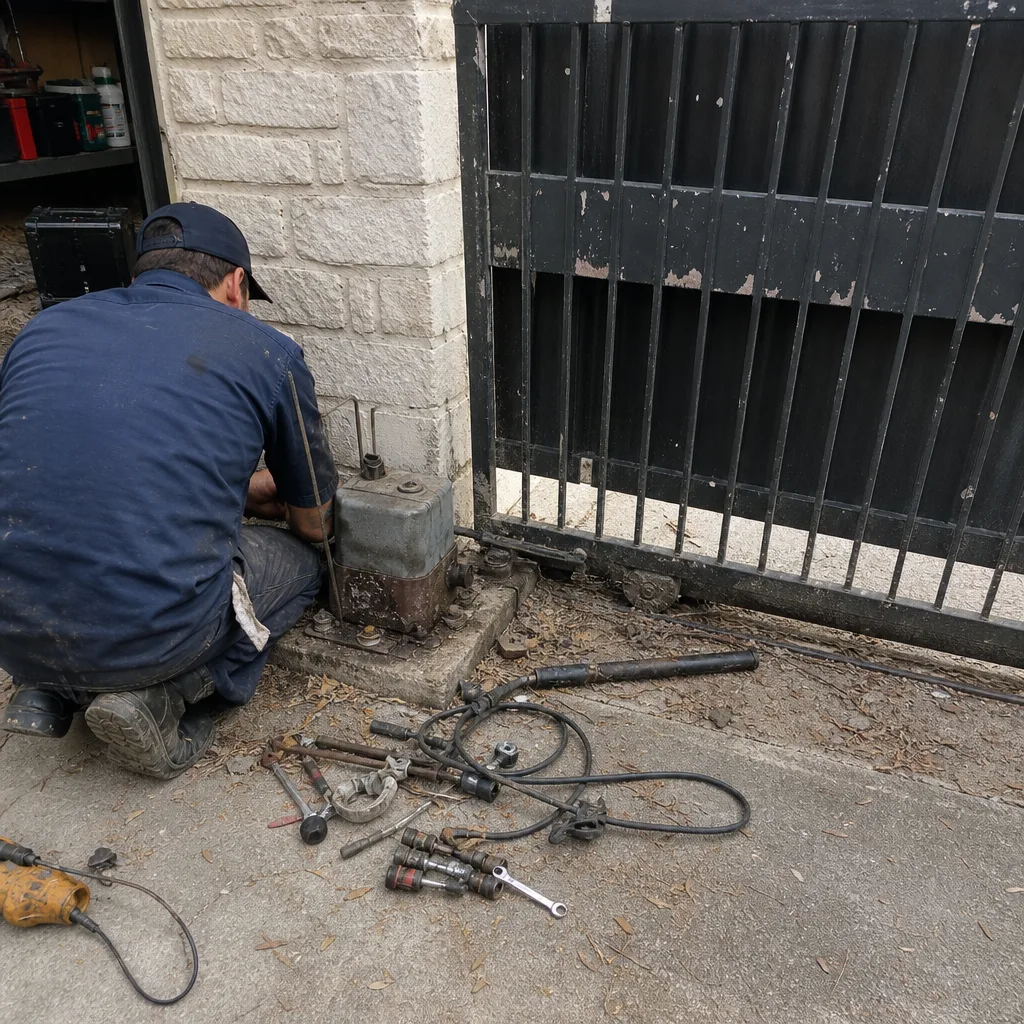 Before
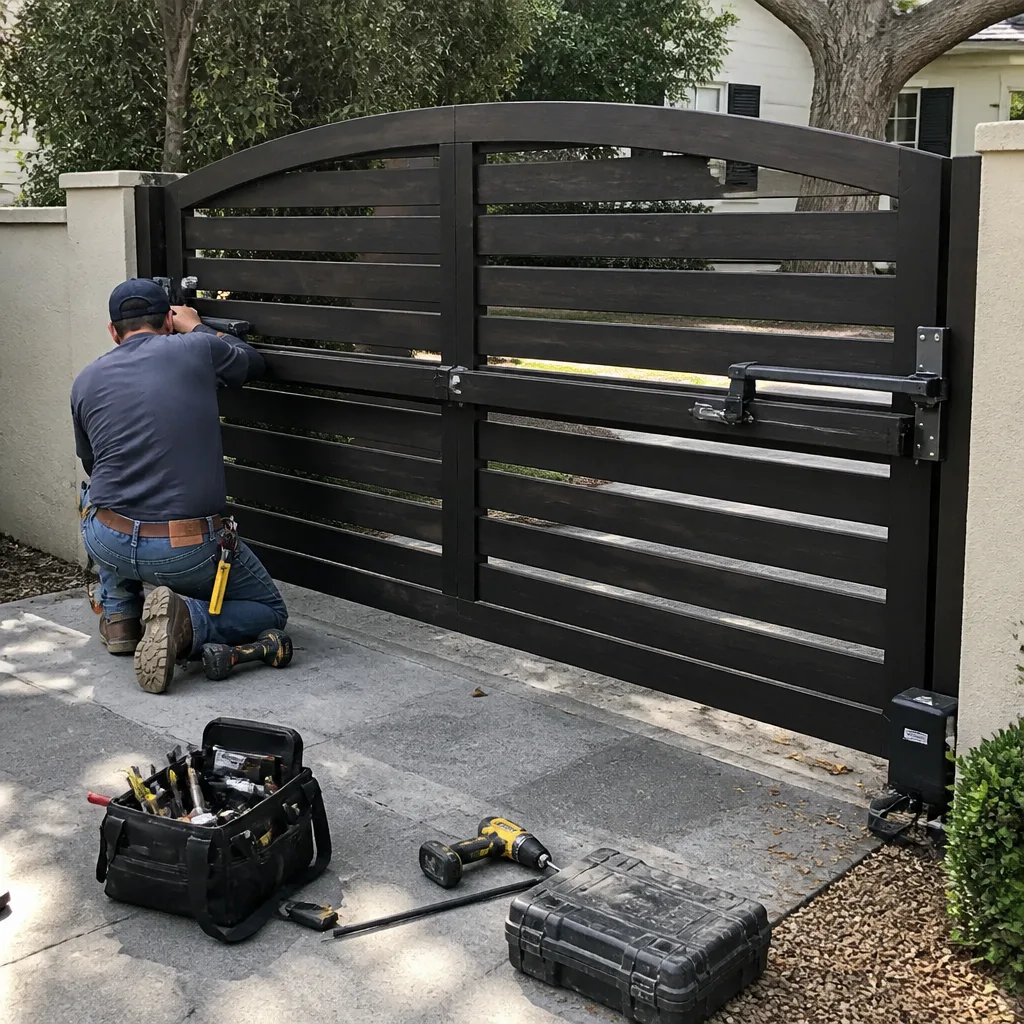 After
After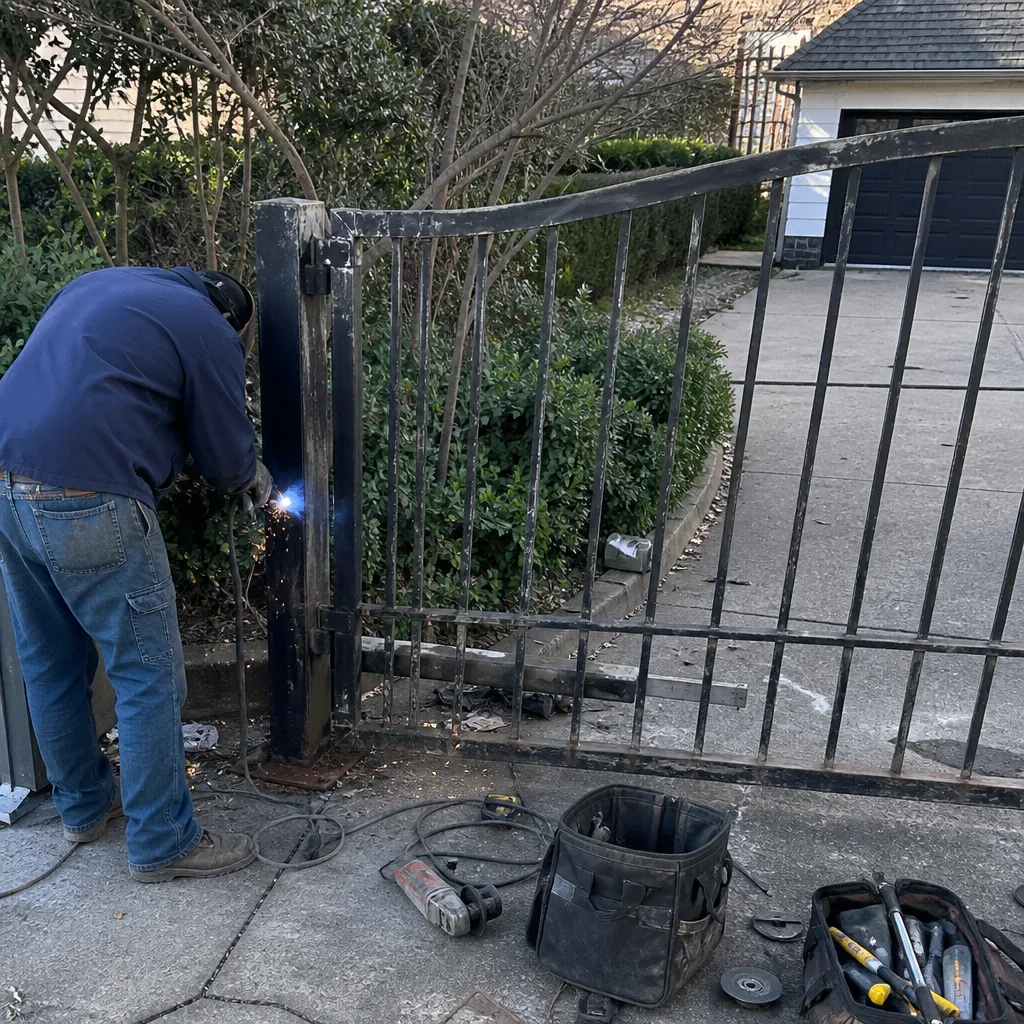 Before
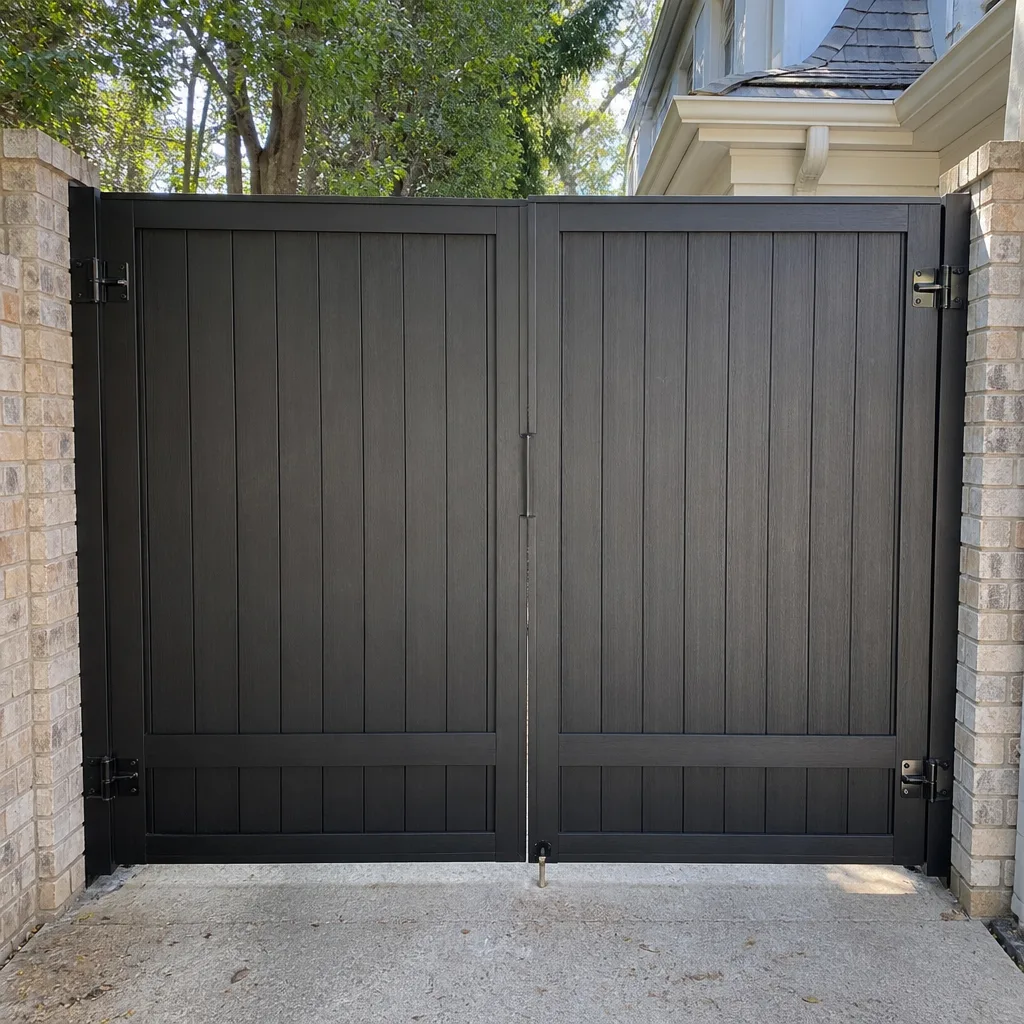 After
After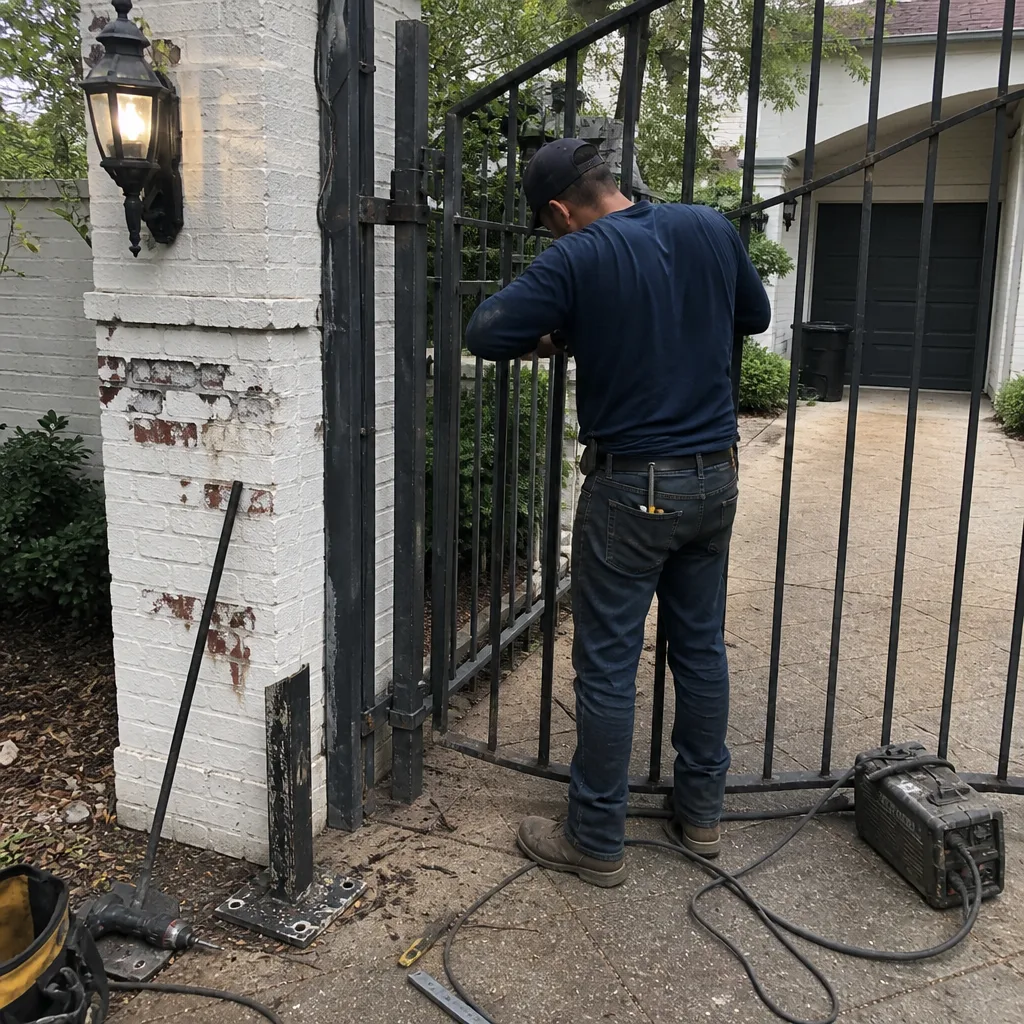 Before
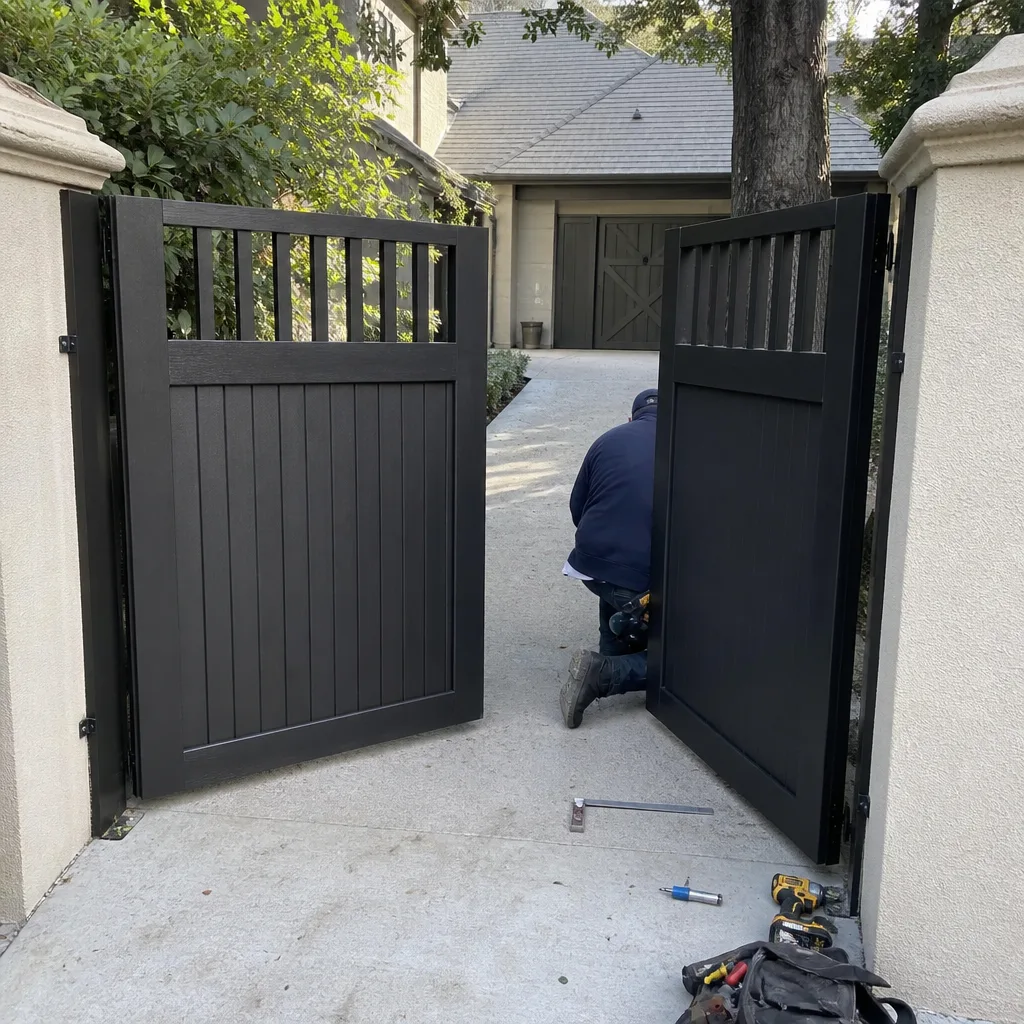 After
AfterDIY vs Professional Gate Repair: The University Park Homeowner’s Decision Guide
In University Park, a quiet street of brick homes and mature oaks can turn into a headache the moment your driveway gate starts dragging, sagging, or refusing to close. The DIY-versus-professional question isn’t really a coin flip. After nearly three decades of cutting off mangled hinges and rewiring operators homeowners tried to fix themselves, the pattern is unmistakable: the jobs people think they can handle are often the ones that end up costing double. This guide draws the line clearly, so you know which repairs are genuinely weekend projects and which ones belong in our Gate Repair services.
Quick Answer
DIY gate repair is smart for four specific jobs: tightening hinges, adjusting a latch, minor alignment tweaks, and basic lubrication. It is a bad idea for anything structural or anything involving the operator. In University Park, Texas, our clay soil and summer heat make posts shift and motors fail in ways a YouTube video won’t prepare you for. If the repair touches a weld, a post, a concrete footer, or the opener itself, call a pro before you make it worse.
Table of Contents
- The Four Repairs Worth Doing Yourself (and the One Mistake Each)
- The Four Repairs That Look DIY-Able But Aren’t
- What a Botched DIY Job Actually Costs in University Park
- How to Spot a Gate Tutorial Made by Someone Who Doesn’t Fix Gates
- The Honest Middle Ground: Prep Work You Do, Work We Do
- Why Operator Work Is a Different Animal Entirely
- Common Mistakes to Avoid
- When to Call a Professional
- Frequently Asked Questions
- The Bottom Line
The Four Repairs Worth Doing Yourself (and the One Mistake Each)
I don’t discourage DIY. I discourage DIY on the wrong jobs. There are four repairs a careful University Park homeowner can do correctly with common tools, and doing them well will keep your gate running longer between professional visits. The catch is that each one has a single non-obvious step that determines whether your fix holds for six months or six years.
1. Hinge Tightening
This is the one everyone starts with, and it’s a legitimate DIY task. When a gate starts to sag, the first thing to check is whether the hinge bolts have backed out. Grab a socket set and tighten every bolt where the hinge meets both the post and the gate frame.
The mistake to avoid: cranking down on a stripped or spinning bolt. If the bolt turns without ever getting tight, the hole in the post or frame has wallowed out. Tightening it harder just destroys the threads. That’s the moment to stop and call someone with a welder, because the fix is filling and re-drilling the hole, not forcing a bolt that’s already done.
2. Latch Adjustment
If your gate closes but won’t latch, or latches but won’t release cleanly, the adjustment is usually a matter of loosening the striker plate, shifting it a fraction of an inch, and re-tightening. On a gravity latch or a basic mechanical latch, this is a fifteen-minute job.
The mistake to avoid: adjusting the latch to accommodate a gate that’s actually sagging. A latch that worked for years and suddenly doesn’t is almost always telling you the gate has shifted, not that the latch wore out. Re-position the striker to match the sag and you’ve masked the real problem. The gate will keep moving, and in six months the latch won’t line up again.
3. Minor Alignment
On a sliding gate, the guide rollers at the bottom can be adjusted to correct a slight wobble or scrape. On a swing gate, sometimes the fix is as simple as re-setting the gate on its hinge side. If the hinges are solid and the posts are plumb, a quarter-inch adjustment is entirely within DIY range.
The mistake to avoid: confusing “the gate is out of alignment” with “the post has moved in the ground.” In University Park, expansive clay soil expands in wet springs and shrinks in dry summers. A post that’s been pushed out of plumb will make the gate look misaligned, but no amount of roller or hinge adjustment fixes a post that’s sitting crooked in the earth.
4. Basic Lubrication
A can of white lithium grease and ten minutes will quiet a creaking gate and keep hinges, rollers, and latches moving smoothly. Do this twice a year in Texas, because the heat bakes lubricant out of metal-on-metal contact points faster than you’d think. For a full schedule, see our Gate Repair Maintenance Checklist for University Park Homeowners.
The mistake to avoid: using WD-40. WD-40 is a solvent and water displacer, not a lubricant. It will strip the grease you already had and leave the metal drier than before. What you want is a genuine lithium-based grease or a silicone lubricant that’s made to stay put under load.
The Four Repairs That Look DIY-Able But Aren’t
Now for the other side of the line. These are the repairs I see botched most often in University Park driveways, and they share a common thread: they all look simple, they all feel simple, and each one has a hidden layer that requires equipment or experience a homeowner typically doesn’t have on hand.
1. Post Realignment
A leaning gate post looks like something you could straighten with a shovel, some gravel, and a strong back. Here’s what actually goes wrong: the post didn’t lean because the soil was soft. It leaned because the original footer was undersized for the gate’s weight, or because the clay soil in University Park swelled and contracted over enough seasons to shift it. Digging around the base, re-plumbing the post, and packing dirt back in will last until the next rain. Then the clay moves again and you’re back where you started, plus a weekend gone.
Real post realignment means pulling the post, drilling a deeper footer, setting it in concrete below the frost and shrink-swell line, and often re-welding the hinge mounts to match the new geometry. That’s not a shovel job. A gate sags in the hinge post, not in the middle, and that is where we start.
2. Weld Repair
When a weld cracks on a steel or iron gate frame, the gate doesn’t just look broken. The crack is a stress point that will keep spreading every time the gate cycles. Homeowners sometimes try to “fix” a cracked weld with a bolt-on bracket or, worse, some kind of epoxy. It never holds, because the frame flexes with every open and close cycle, and the crack just keeps working behind the patch.
Proper weld repair means grinding out the cracked material, re-welding with the right rod and heat, and often adding a gusset to redistribute stress so the same crack doesn’t reappear six inches away. We do that on site, with the gate still in your driveway, because hauling it away is what companies do when they’d rather sell you a new one.
3. Automated Operator Work
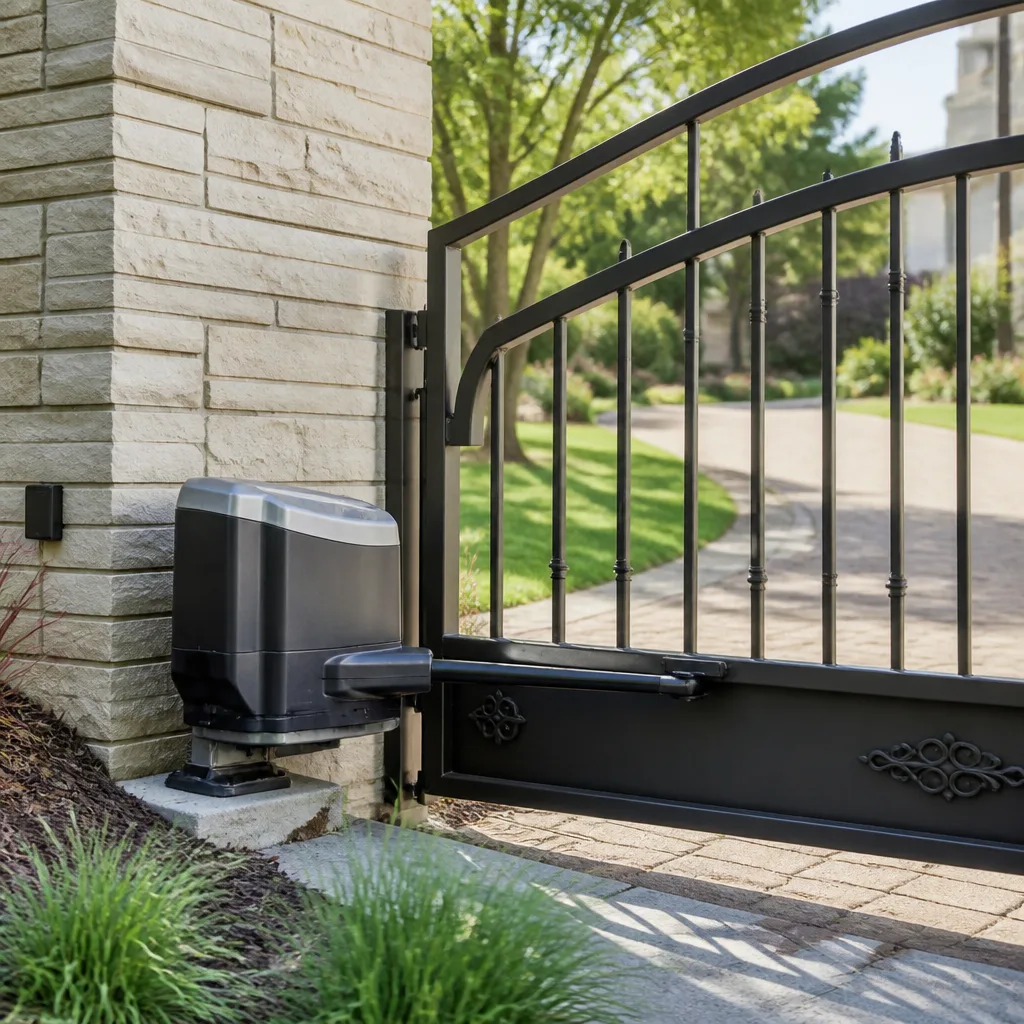
Gate operators aren’t like garage door openers. A gate swings or slides across a much longer arc, catches far more wind load, and runs on low-voltage circuits with safety loops, photo eyes, and control boards that all have to talk to each other. When the gate won’t open, the cause could be a dead capacitor, a burnt relay, a misaligned safety edge, a short in the underground loop, or a control board that’s lost its settings.
The common DIY approach is to start swapping parts until something changes. That gets expensive fast, and the operator usually ends up worse off because the homeowner’s replacements don’t match the motherboard’s tolerances. Operator repair belongs in the hands of someone who works with these systems regularly. We service nine major brands, including Linear, Viking, Ghost Controls, and DoorKing, and I can tell you from experience that a DoorKing board doesn’t shrug off the wrong capacitor the way you’d think it should.
4. Concrete Footer Issues
If the concrete at the base of a post is cracked, crumbling, or pulling away from the steel, the failure isn’t cosmetic. The footer is the structural root of the entire gate system. Jackhammering out old footers, re-setting posts in new concrete with proper curing time, and re-aligning the gate afterward is a multi-day process that requires a concrete saw, a mixer, and a good sense of when concrete has cured enough to hang weight on it. Get the timing wrong and the post sets into un-cured concrete that slumps the moment the gate hangs. This is one of those jobs where doing it halfway just means paying for the full job later, after the halfway attempt fails.
What a Botched DIY Job Actually Costs in University Park
Let me put real numbers on the table in this Gate Repair Cost Breakdown: The University Park Homeowner’s Reference for 2026. Not national averages from a website, but figures from jobs we’ve actually seen here in University Park and the surrounding county.
Scenario A: The stripped hinge bolt. A homeowner keeps tightening a hinge bolt that’s spinning in a wallowed-out hole. The threads eventually destroy the hole entirely. Now the hinge can’t hold at all, and the gate drops. What started as a $40 hinge repair becomes a $220-$350 job involving welding filler into the post, re-drilling, and re-hanging the gate.
Scenario B: The misaligned safety loop. A homeowner replaces the safety loop wire after mulching over the old one, thinking the loop is just a wire in the ground. The new loop is spliced wrong or buried at the wrong depth, and the gate won’t close. By the time we’re called, the operator has been manually forced open and closed a dozen times, the control board has logged a fault history, and the repair involves tracing the loop, diagnosing the board, and resetting the operator. $450-$700, versus $180-$260 if the original loop had been left alone.
Scenario C: The post that just wouldn’t stand up. This one we see every spring after the clay soil does its thing. A homeowner re-sets a leaning post with bagged concrete and a level. Three months later, the post has moved again. Now the footer has to be re-drilled deeper, the post re-set, and the gate re-aligned. The original professional fix would have been $400-$600. The post-DIY fix runs $700-$900 because of the extra demolition and the time spent chipping out the home-poured footer.
The pattern here is not that DIY repairs fail. The pattern is that they fail specifically because the homeowner treated a structural or electrical problem as if it were a hardware problem. The most expensive thing in gate repair is not the repair. It’s the undo.
How to Spot a Gate Tutorial Made by Someone Who Doesn’t Fix Gates
Before you follow a video or a blog post, look for three signs that the person behind it has never actually worked on a gate in a driveway like yours.
- They never mention the post. A gate sags in the hinge post, not in the middle. If a video shows you how to “fix” a sagging gate by adjusting the hinges or adding a wheel, but never once says the words “post” and “footer,” you’re watching someone who has fixed a gate once in their garage, not someone who has fixed a thousand gates in the field.
- They skip the safety stuff on operator work. A real gate tech will always tell you to kill the power at the breaker before opening an operator housing, and will always warn you that a gate under tension can move on its own. A video that just opens the box and starts touching wires was made by someone who got lucky, not someone who understands why the rules exist.
- They don’t ask what kind of gate you have. A slide gate, a swing gate, a cantilever gate, and an overhead track gate are entirely different machines. A tutorial that doesn’t start by asking what you’re working on is a tutorial of one person’s one-time fix, not a guide built on actual repair experience.
If a video passes those three tests, the repair is probably within DIY range. If it fails any one of them, close the tab and browse more guides & resources instead.
The Honest Middle Ground: Prep Work You Do, Work We Do
Most gate companies won’t tell you this, but there is a real split of labor that brings your total bill down. The technical piece in gate repair is the diagnosis, the welding, the wiring, and the operator programming. The time-consuming piece is often just the prep and the cleanup. If you’re willing to do the prep, we can do the technical work and charge you for less time on site.
Here’s what that looks like in practice:
- Expose the footer. If a post needs to be re-set, you can dig around the existing concrete footer and clear the workspace. That saves an hour of shovel time, and you’re not paying gate rates for digging.
- Clear the gate path. On a sliding gate repair, moving vehicles, bikes, and yard equipment out of the track’s range before we arrive means we can start working the moment we’re there.
- Pull the old batteries and panels. On solar operators, if you can remove the old battery pack and unbolt the solar panel before we arrive, that’s time saved. Just leave the wiring untouched.
- Document the symptoms. Write down exactly when the gate misbehaves: on cold mornings, after rain, when the wind blows from the north, only when the neighbor’s sprinkler runs. That kind of detail often points to the root cause faster than an hour of testing.
We’re always glad to walk a homeowner through the prep list on the phone before we come out. The more you do safely, the less your repair costs. That’s just how it works when a company’s name is on the building and the owner is the one who answers.
Why Operator Work Is a Different Animal Entirely
Gate operators deserve their own section because they’re where I see the most money wasted on DIY optimism. A swing gate operator might run on 24-volt DC, a slide gate on 120-volt AC. Some operators have battery backup, some have solar charging circuits, some have wireless safety edges and some have wired loops. If you don’t know which system you’re working on, you can ruin a $400 control board by testing it with the wrong voltage.
And here’s the part that matters for University Park: our summers hit 100 degrees, and operators sit in metal housings that get substantially hotter than the ambient air. A capacitor rated for 85 degrees Celsius is going to fail early in a Texas operator housing. That’s a fact a general repair video from Minnesota isn’t going to account for. When we install or repair a Gatewood operator in University Park, we’re selecting components that tolerate our specific climate, not whatever the parts supplier has on the shelf.
If your gate motor is groaning, stopping mid-cycle, reversing for no reason, or showing a fault light, the most cost-effective thing you can do is call us before you touch anything. We service LiftMaster, FAAC, BFT, Linear, Viking, Ghost Controls, DoorKing, and Elite. If your operator is outside that list, call anyway. We’ll tell you honestly whether it’s repairable or whether the board has reached the end of its life, and we will not upsell you a new operator to make the truck payment.
Common Mistakes to Avoid
- Tightening a bolt that’s already stripped. Once a bolt spins without tightening, the metal around it has failed. More torque only widens the damage, and the eventual repair costs more than the original fix would have.
- Using the wrong lubricant. WD-40 is not a gate lubricant. It strips grease and leaves metal dry. Use white lithium or a silicone lubricant rated for load-bearing contact points.
- Masking a sag with a wheel or a latch adjustment. A gate that suddenly scrapes or won’t latch is telling you the post or the hinges have moved. Adding a caster wheel or shifting the striker plate hides the symptom while the structure continues to fail.
- Thinking all gate operators are the same. A swing arm operator and a slide gate rack-and-pinion system share almost nothing except the word “gate.” One repair video does not cover both.
- Working on an operator with the power on. A gate operator maintains tension and can move a heavy gate leaf with surprising force. Always kill the breaker and confirm the system is dead before opening any housing. If you’re not comfortable with a multimeter, don’t open it at all.
- Re-setting a post without understanding why it moved. In University Park, clay soil expands and contracts with moisture. A post that leaned once will lean again unless the footer is drilled deep enough and the concrete is sized for the load. Digging and re-packing dirt is not a fix.
When to Call a Professional
If the repair involves a weld, a post that’s moved, a concrete footer that’s cracked, or any component inside the operator housing, that’s the line. Stop and call. Those are the jobs where a professional’s equipment and experience prevent the repair from becoming a replacement. If your gate is binding, if it’s making noise it didn’t make last month, or if the opener is doing something it didn’t do before, that’s your signal. Gatewood Fence & Gate offers free estimates in University Park. Call (936) 296-2568 and describe what you’re seeing. The price is agreed before any work starts, and we don’t charge a trip fee inside the county.
Frequently Asked Questions
Most gate repairs in University Park run between $150 and $700 depending on whether the issue is mechanical, structural, or electrical. A hinge replacement or latch adjustment typically falls in the $150-$250 range, while a post re-set or operator board replacement can run $400-$700. We quote the price before we start, and we offer $40 off any repair over $200. Call (936) 296-2568 for an exact quote. Estimates are free.
For mechanical issues like hinges, latches, and minor alignment, we can often be there the same day. For structural work like post re-setting or concrete footers, the curing time is what it is. We’ll give you a straight answer on the phone, not a promise we can’t keep.
Most operators are repairable if they’re under 15 years old and the control board hasn’t been damaged by power surges. We repair what we can before recommending replacement. A new operator only makes sense when the board is obsolete and parts aren’t available, or when the motor windings have failed. We’ll show you the failed component and explain the math, either way.
Yes. We service Linear, Ghost Controls, Viking, and DoorKing, along with LiftMaster, FAAC, BFT, Elite, and Mighty Mule. If your operator is outside those brands, call anyway. We’ll tell you honestly what’s involved before we touch anything.
In our experience, the most common University Park gate repair is post movement from clay soil expansion and contraction. The soil here is the hidden variable. It moves gates out of alignment, stresses welds, and causes latches to stop lining up. That’s why we look at the post first on nearly every sagging gate.
Almost always, yes. A leaning post means the existing footer is undersized or has cracked. Re-packing dirt or pouring a shallow patch around the base won’t hold. The fix is a deeper footer set below the shrink-swell zone, and that’s a job for a professional with a concrete saw and the right equipment.
The Bottom Line
The DIY-versus-professional question for gate repair comes down to two factors: whether the repair is structural and whether it involves the operator. If neither applies, you’re working with hardware you can handle: hinges, latches, alignment, lubrication. If either applies, you’re in the territory where a wrong guess costs more than the pro would have charged in the first place. In University Park, where the clay moves under our feet and the sun cooks our operators, those two factors come up more often than homeowners expect. When you’re not sure, call. We’ll tell you what you’re looking at, and the price before we start.
If your gate is giving you trouble, start with our Gatewood Fence & Gate home page or read more about gate repair in University Park. For a full replacement, see gate installation in University Park, and for anything involving the motor or control board, check out gate motor and opener service in University Park.
Written by Hal Gatewood, Owner at Gatewood Fence & Gate, serving University Park since 2001.